Confession: I’ve had my wedding bouquet sitting in a brown paper bag on our kitchen table for nearly two months. Parts of it were molding. Gross, I know.
I saved it after coming across this awesome idea for a wedding shadowbox during the wedding planning process. I thought it was such a touching, unique way to forever capture some of the details of our wedding day.
I finally got around to putting mine together this week and am so happy with the results. I was able to salvage some rose petals and billy balls from our wedding flowers to incorporate in the display. Has anyone else had issues with drying flowers? My bouquet looked and smelled pretty disgusting, despite following online tips on how to properly preserve it.
I’m a super sentimental person — I’ve saved every love letter and card James gave me since we started dating — so having this on display in our home makes my heart smile.
And, it only cost about $50 and an hour of my time. Here’s how I did it:
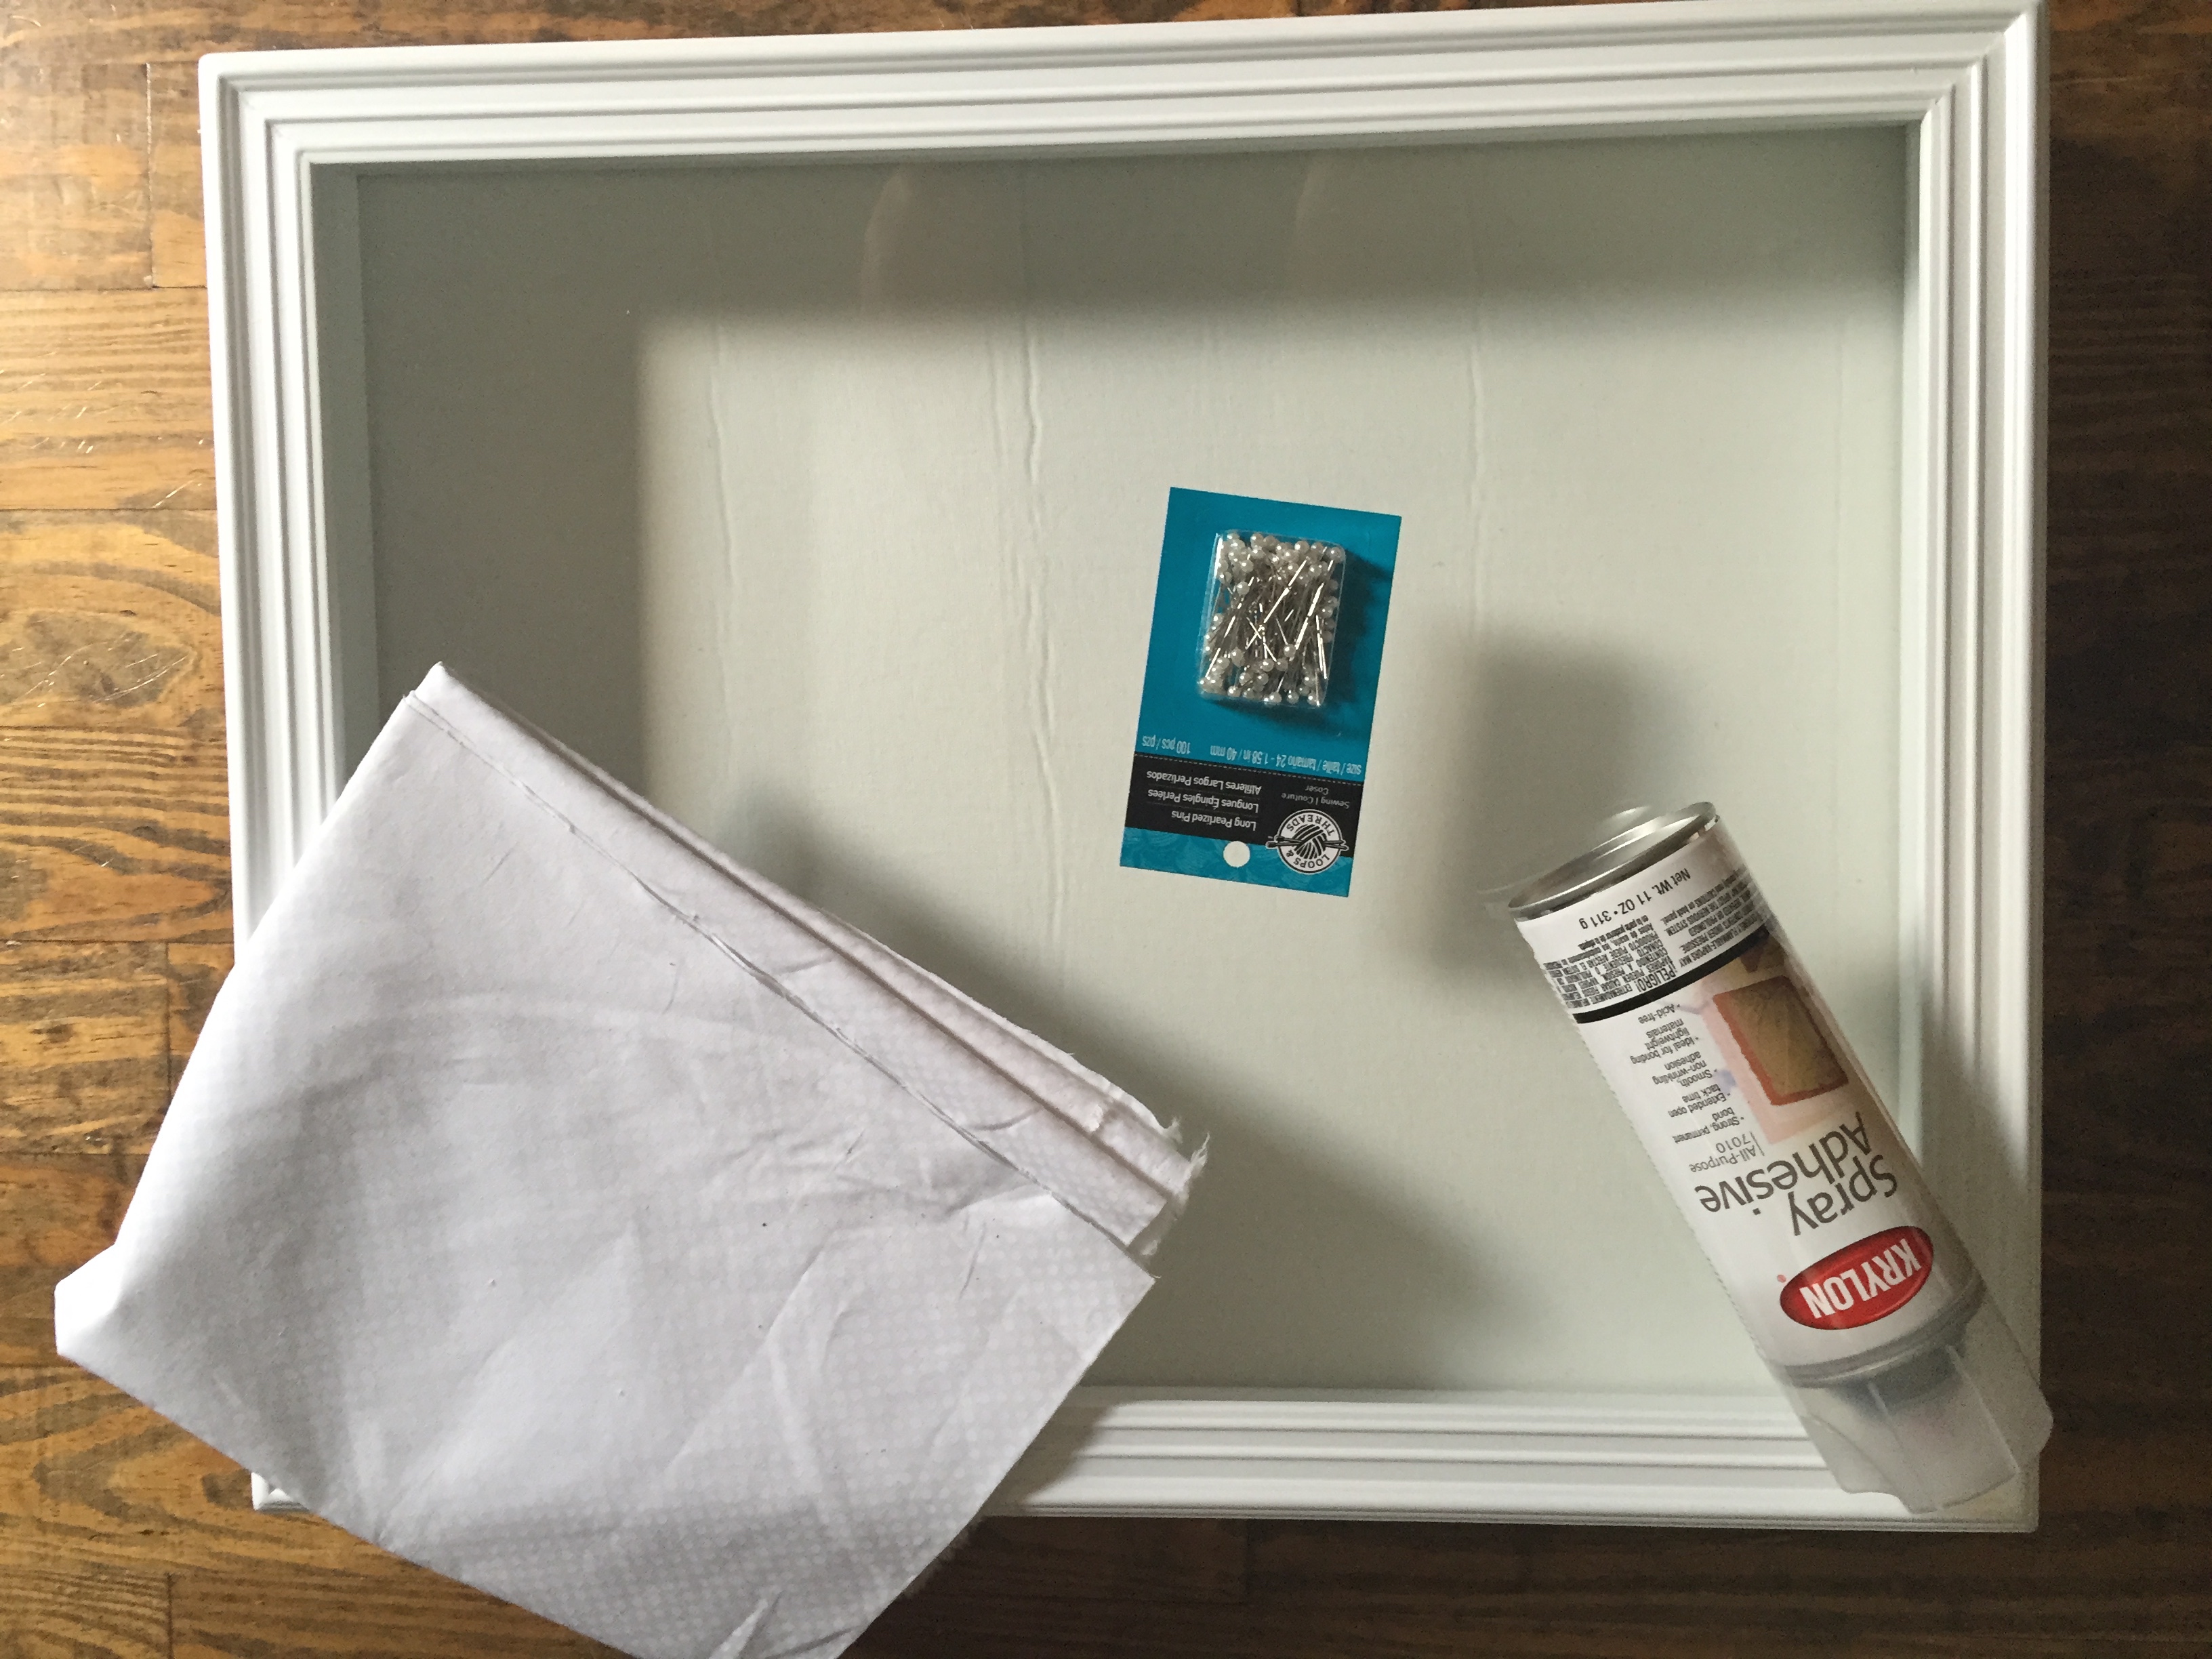
First, I stopped by Michael’s and picked up a shadowbox frame, pearlized straight pins, spray adhesive and some fabric. I chose a 16 x 20 frame based one what I set aside from our wedding to put in the frame. I also decided on a white fabric with little white polka dots because I didn’t want to distract too much from the items I was showcasing. A solid color fabric would work well, too. All of these supplies only cost me about $50 (tip: download the Michael’s and Retail Me Not apps on your phone — I use them both for coupons and never pay full price).
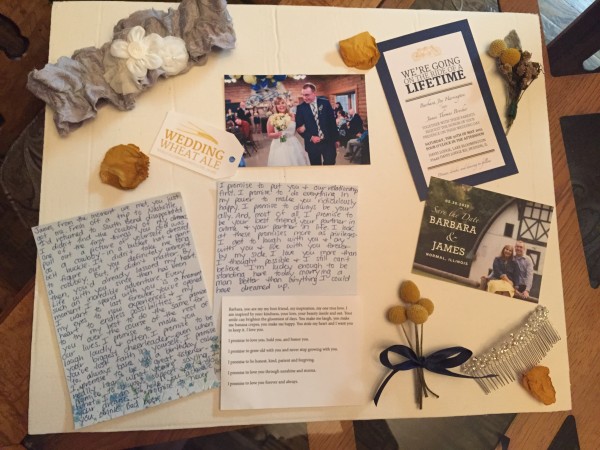
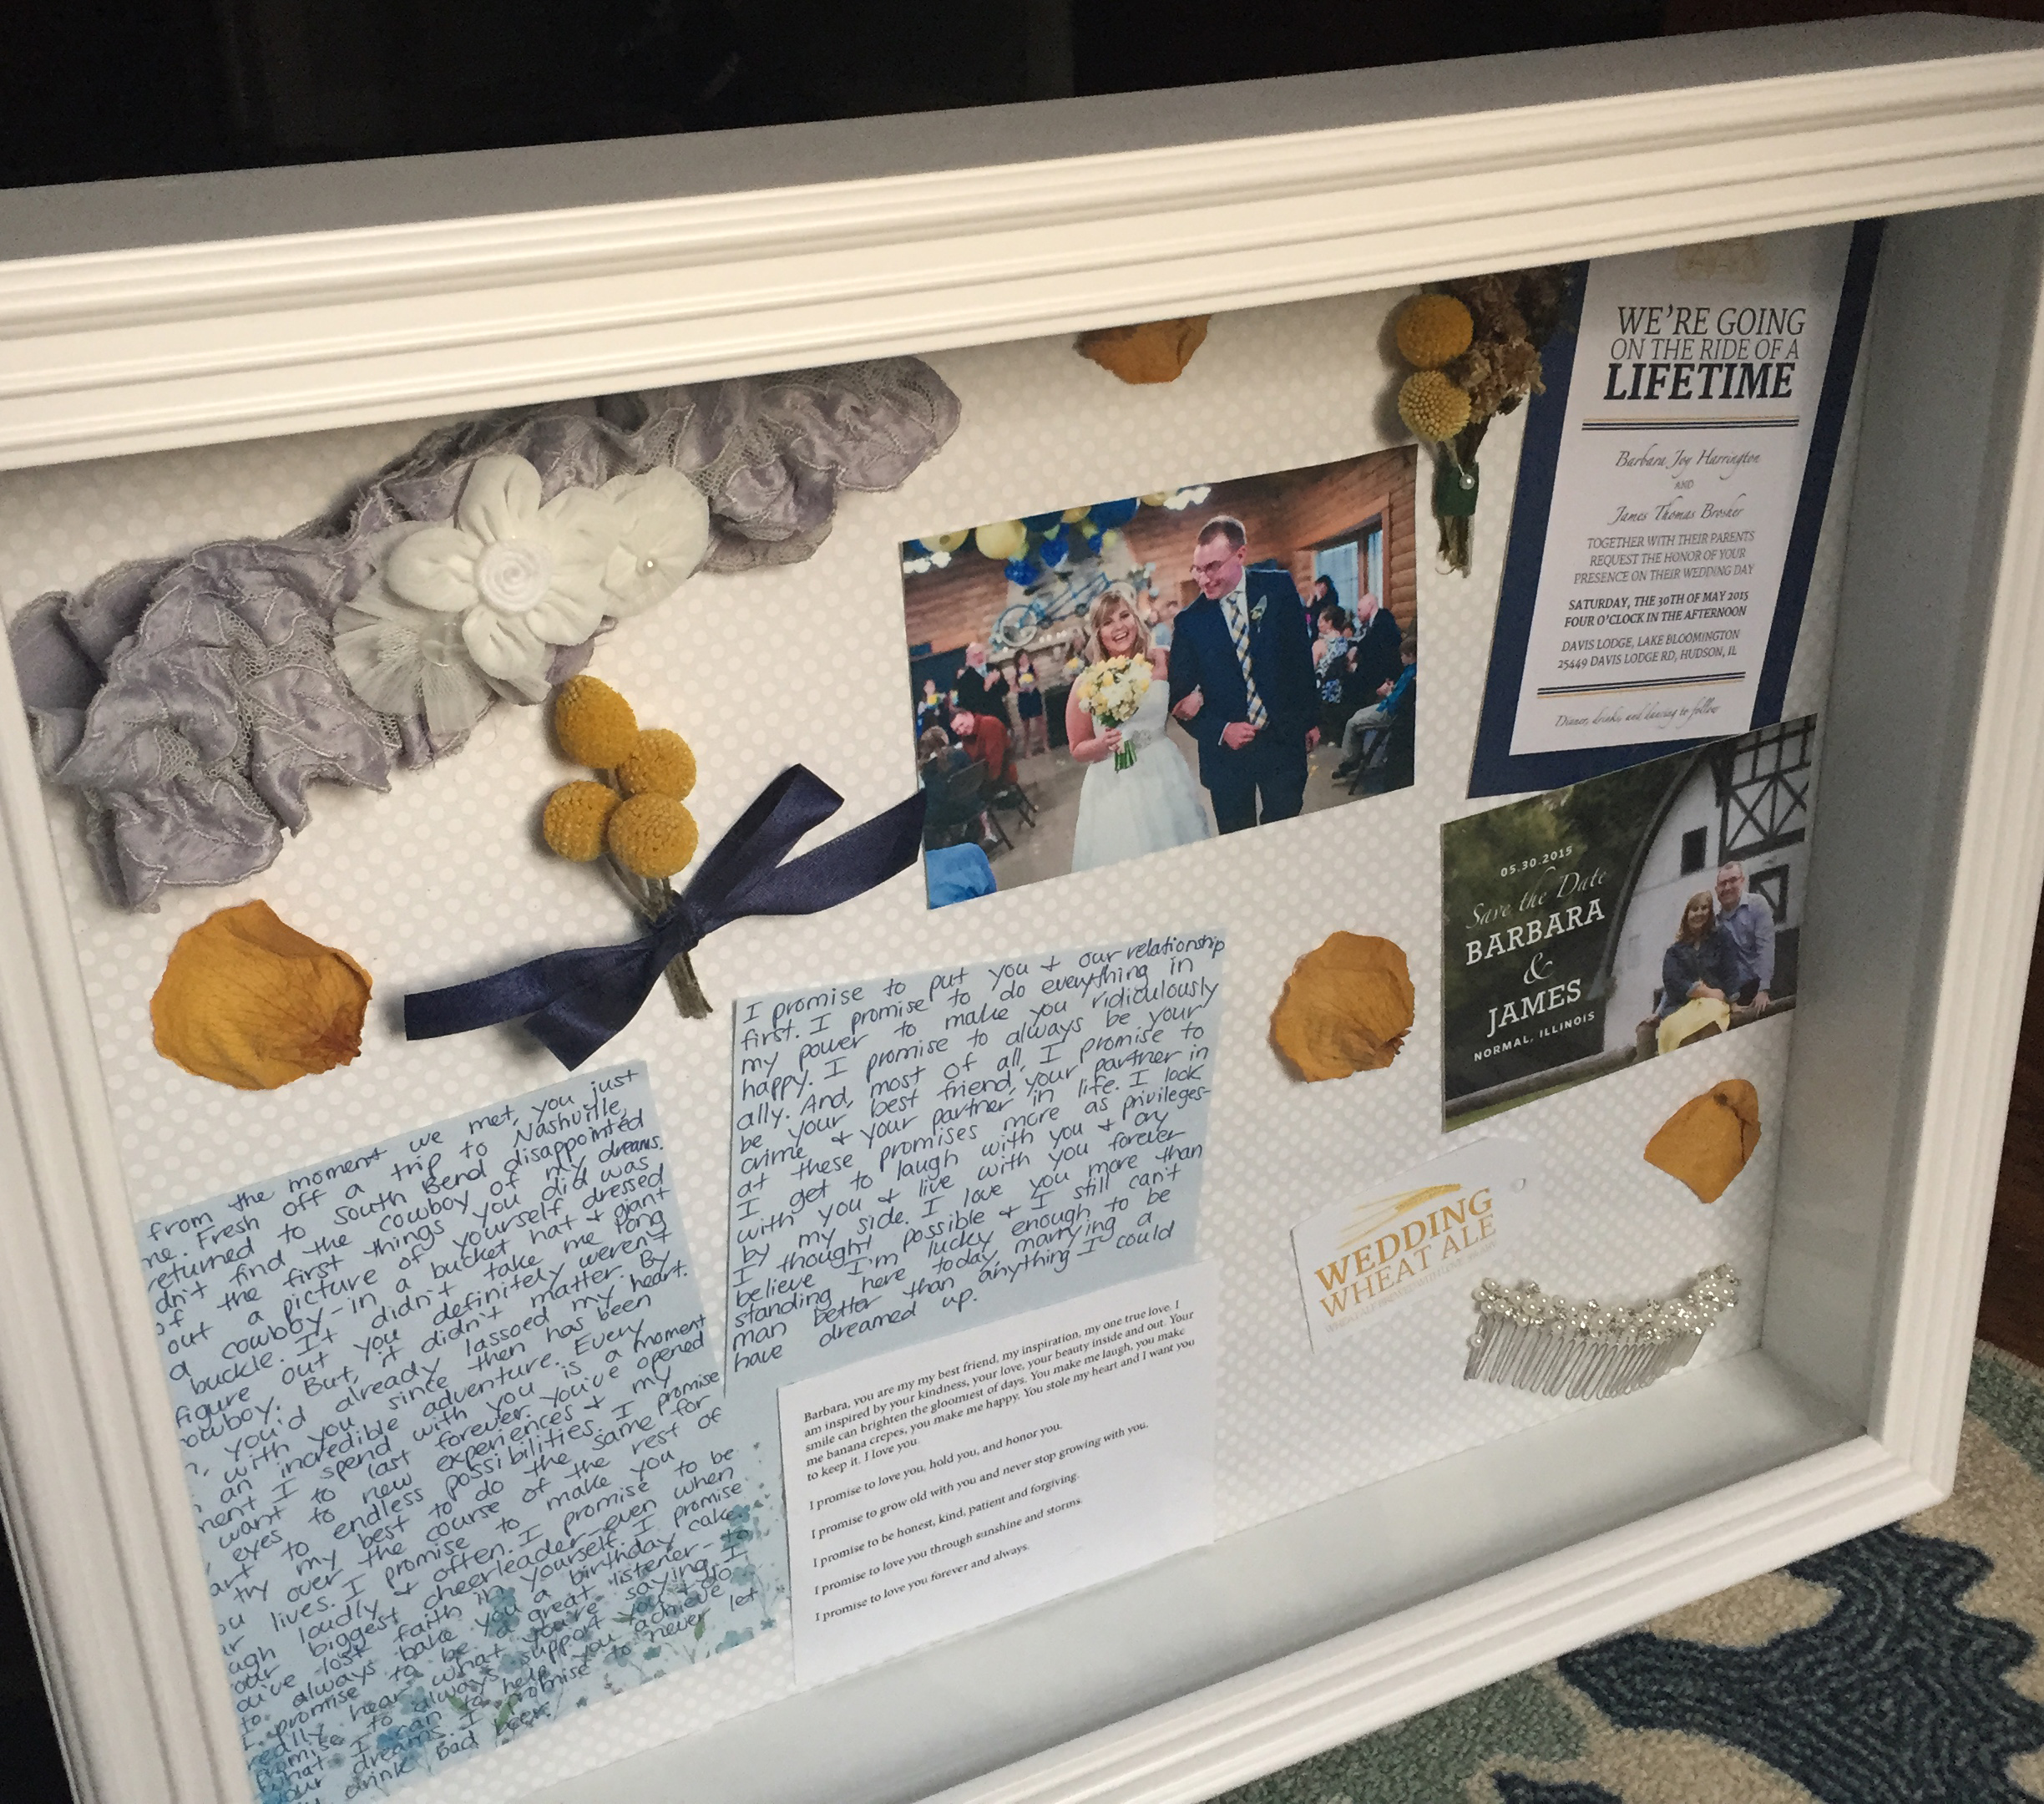
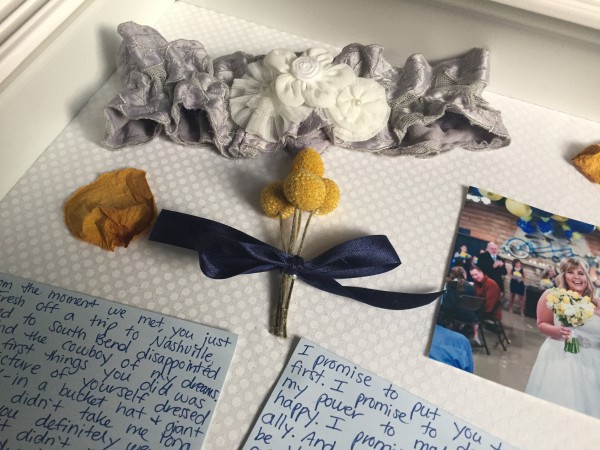
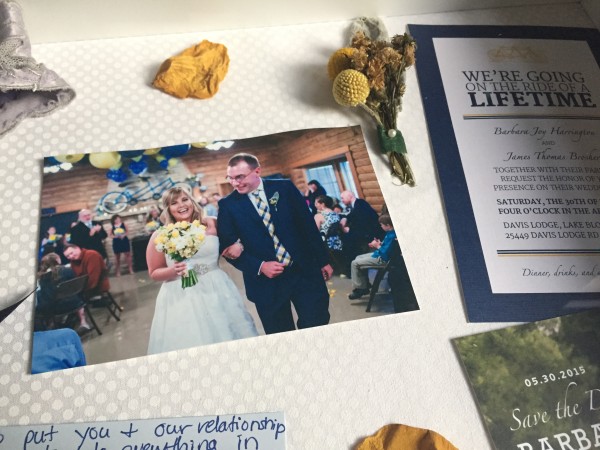
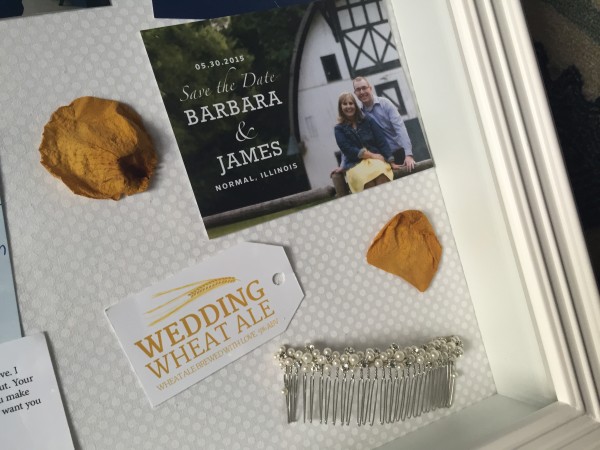
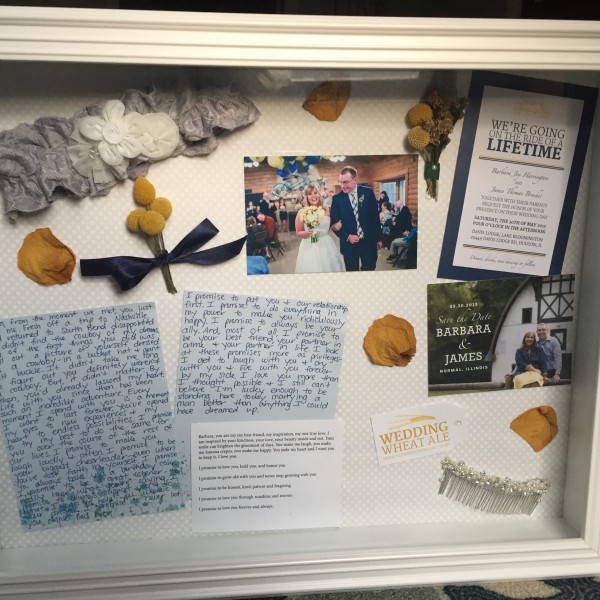
Once I had everything I needed, I played around with how I wanted to place all of the items. I decided to display our vows, our invitation, our Save the Date, James’ boutonniere, my hair piece, a home brew favor tag, my garter and some flowers from our wedding.
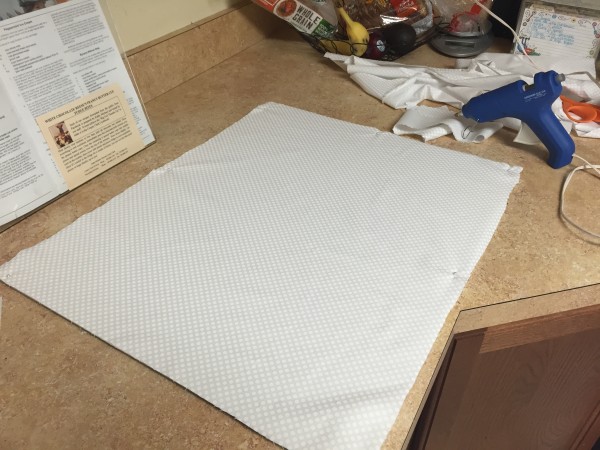
Next, I cut and hot glued the fabric to the shadow box backing. I did this by first straight pinning the fabric to the board, trimming the extra, then removing pins one side at a time and applying hot glue. Make sure to pull the fabric tightly to avoid making wrinkles.
I attached the items using a combination of hot glue and straight pins. For items that laid flat, hot glue was enough to keep them in place. I used pins on the garter, flower bunches and hair pin. In most cases, I was actually able to hide the ends of the pins underneath the items.
I ended up rearranging the items slightly as I affixed them to the board.
Once they were all in place, I very carefully sprayed the entire display lightly with spray adhesive. Everything was secure before then, but I just wanted to ensure nothing would fall out of place.
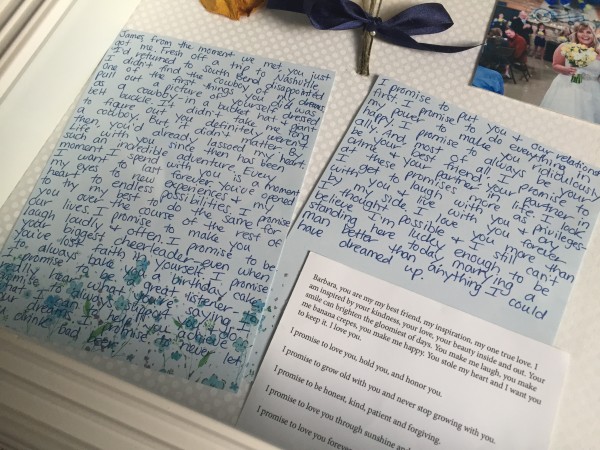
I think my favorite part of the shadowbox is our vows. I ended up re-writing mine on a nice piece of stationary because the paper I had them written on for our wedding day got lost at some point during the reception. We were too busy having the time of our lives to notice! Being able to look at those vows on a daily basis will serve as a reminder of the spouses we hope to be and how lucky we are to have found one another.
I can’t believe how beautiful the end product ended up being — and how easy it was to throw together. You can make these shadowboxes for so many occasions — a kid’s first birthday party, a fun family vacation, even to memorialize a loved one. I hope ours is something that will be passed down for several generations.