Do you have an old porch swing that needs some love? Here’s a step-by-step guide that will make it look like new.

I think it’s safe to say spring is here to stay. We’ve had our fair share of rainy days, but the beautiful, sunny afternoons make up for it. We finally pulled our outdoor furniture out of storage this weekend and have been trying to spend as much time hanging out on our deck and front porch as possible.
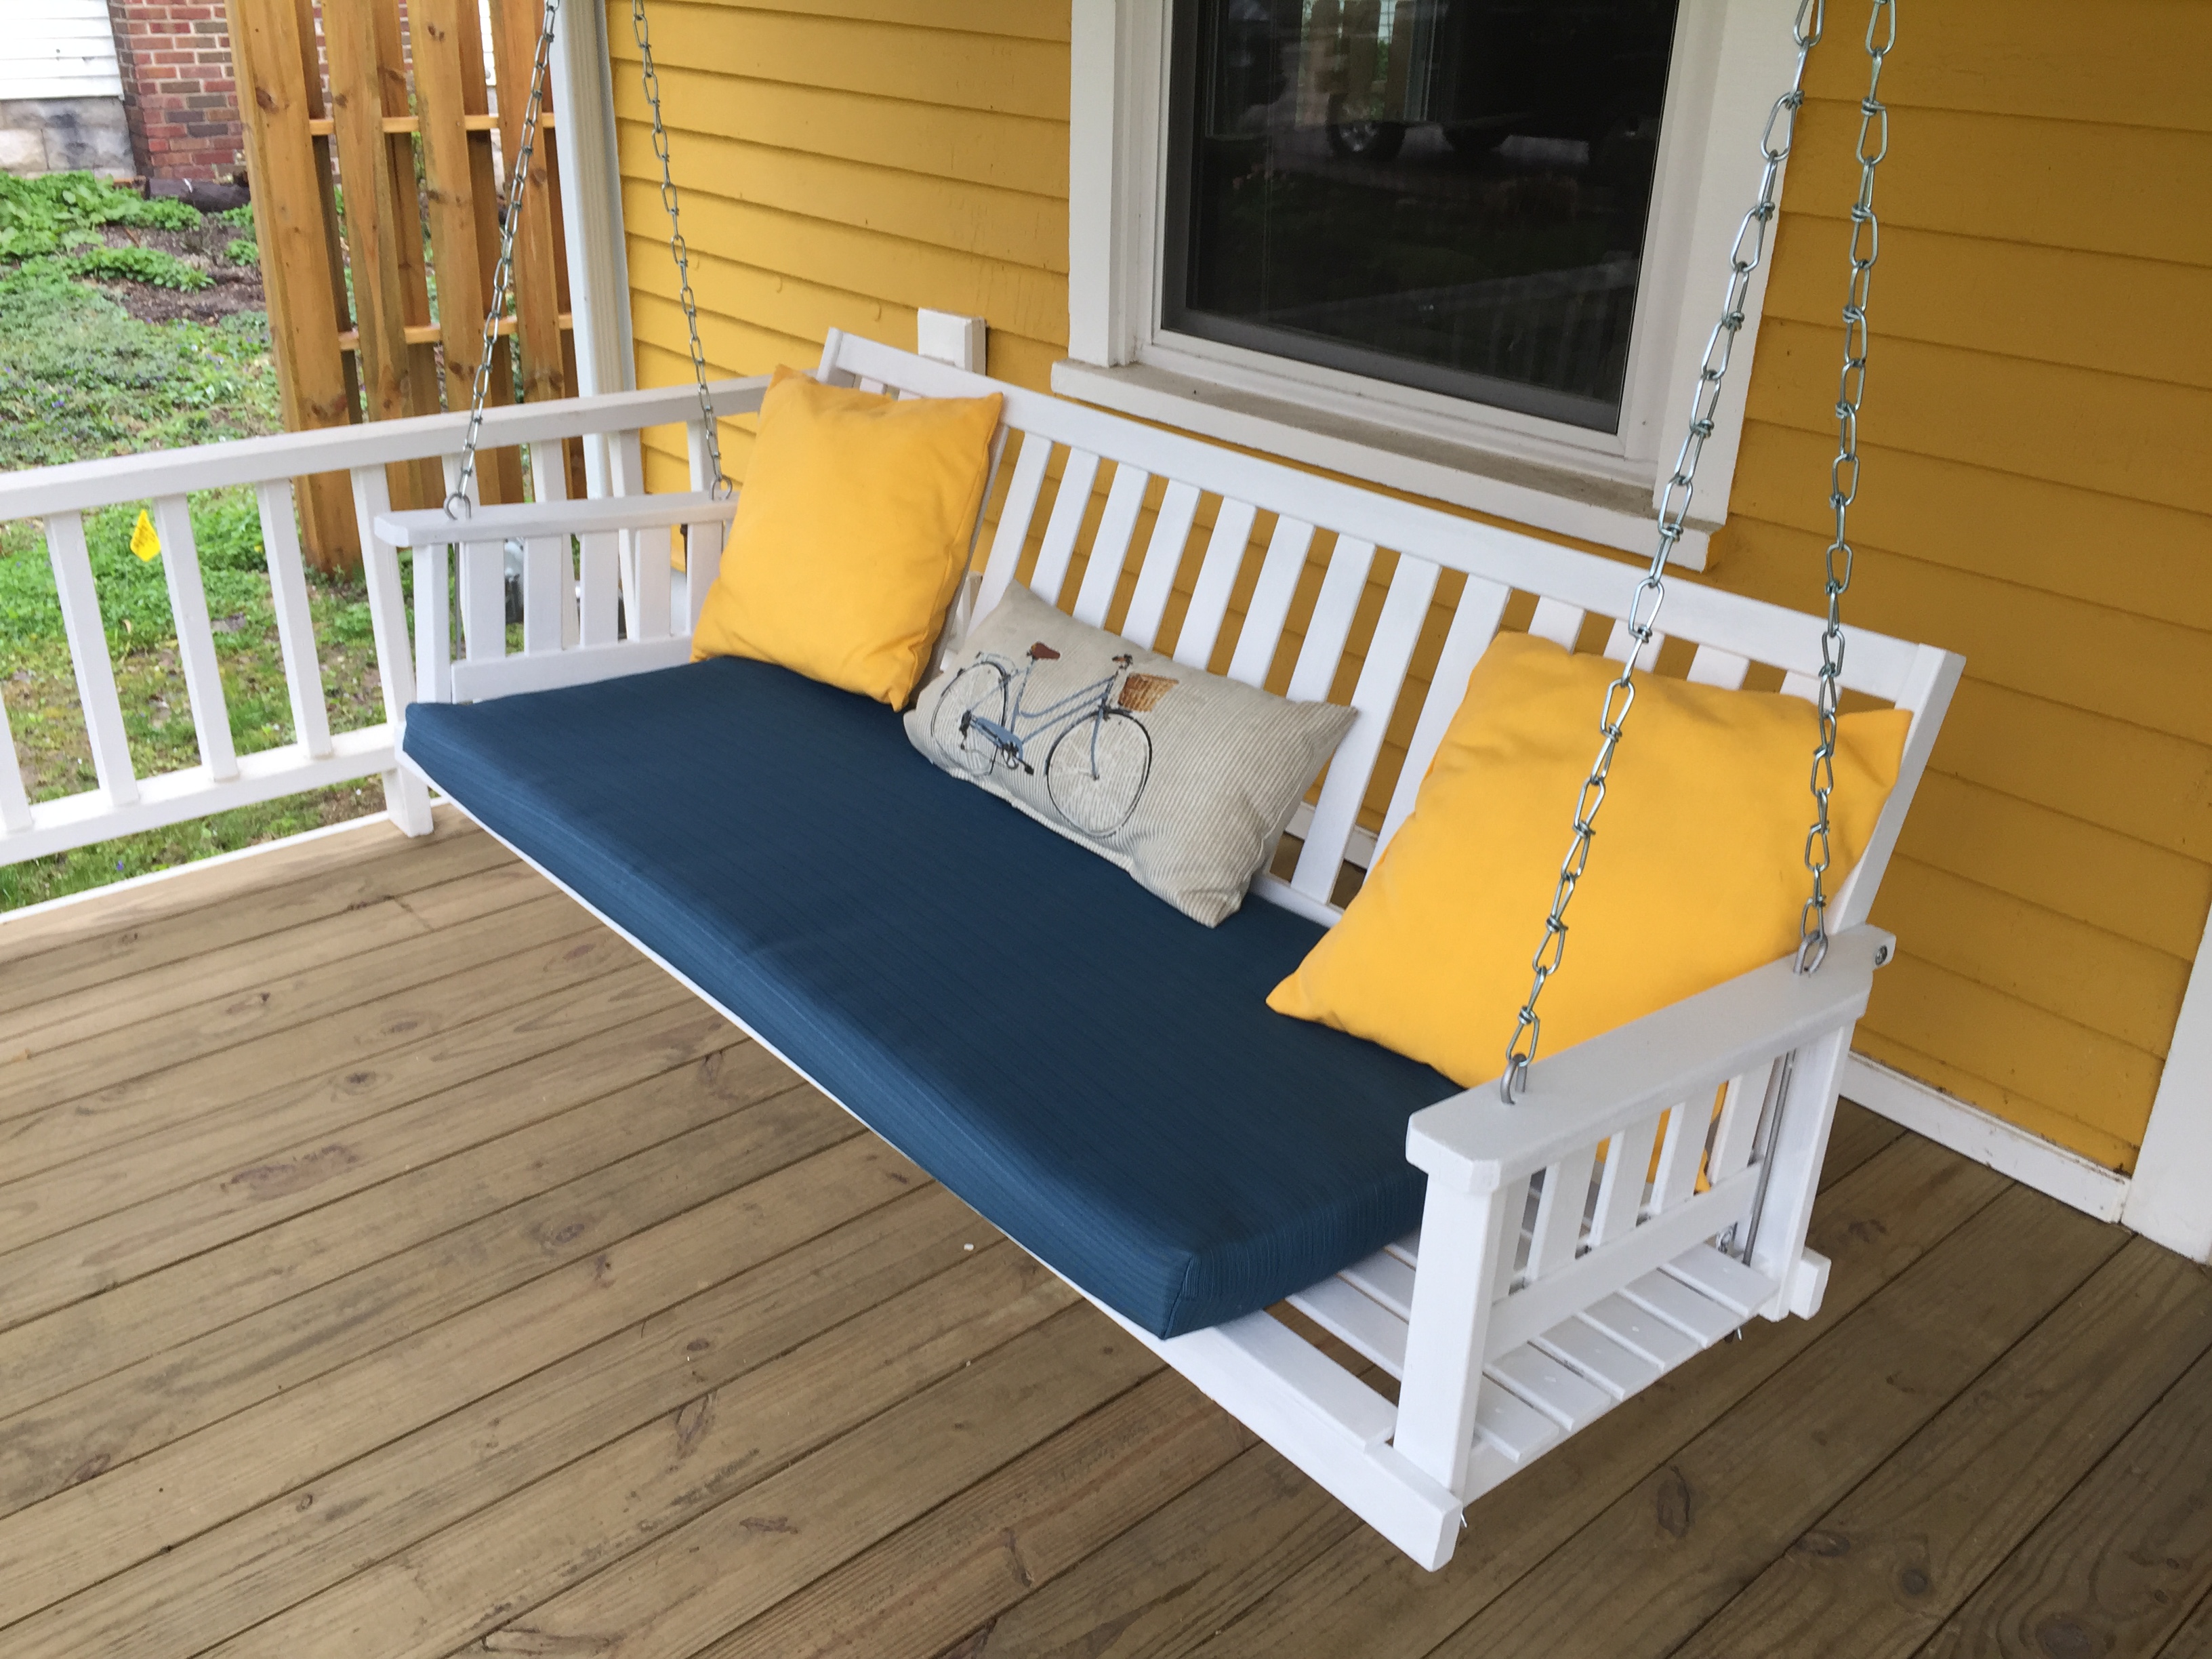
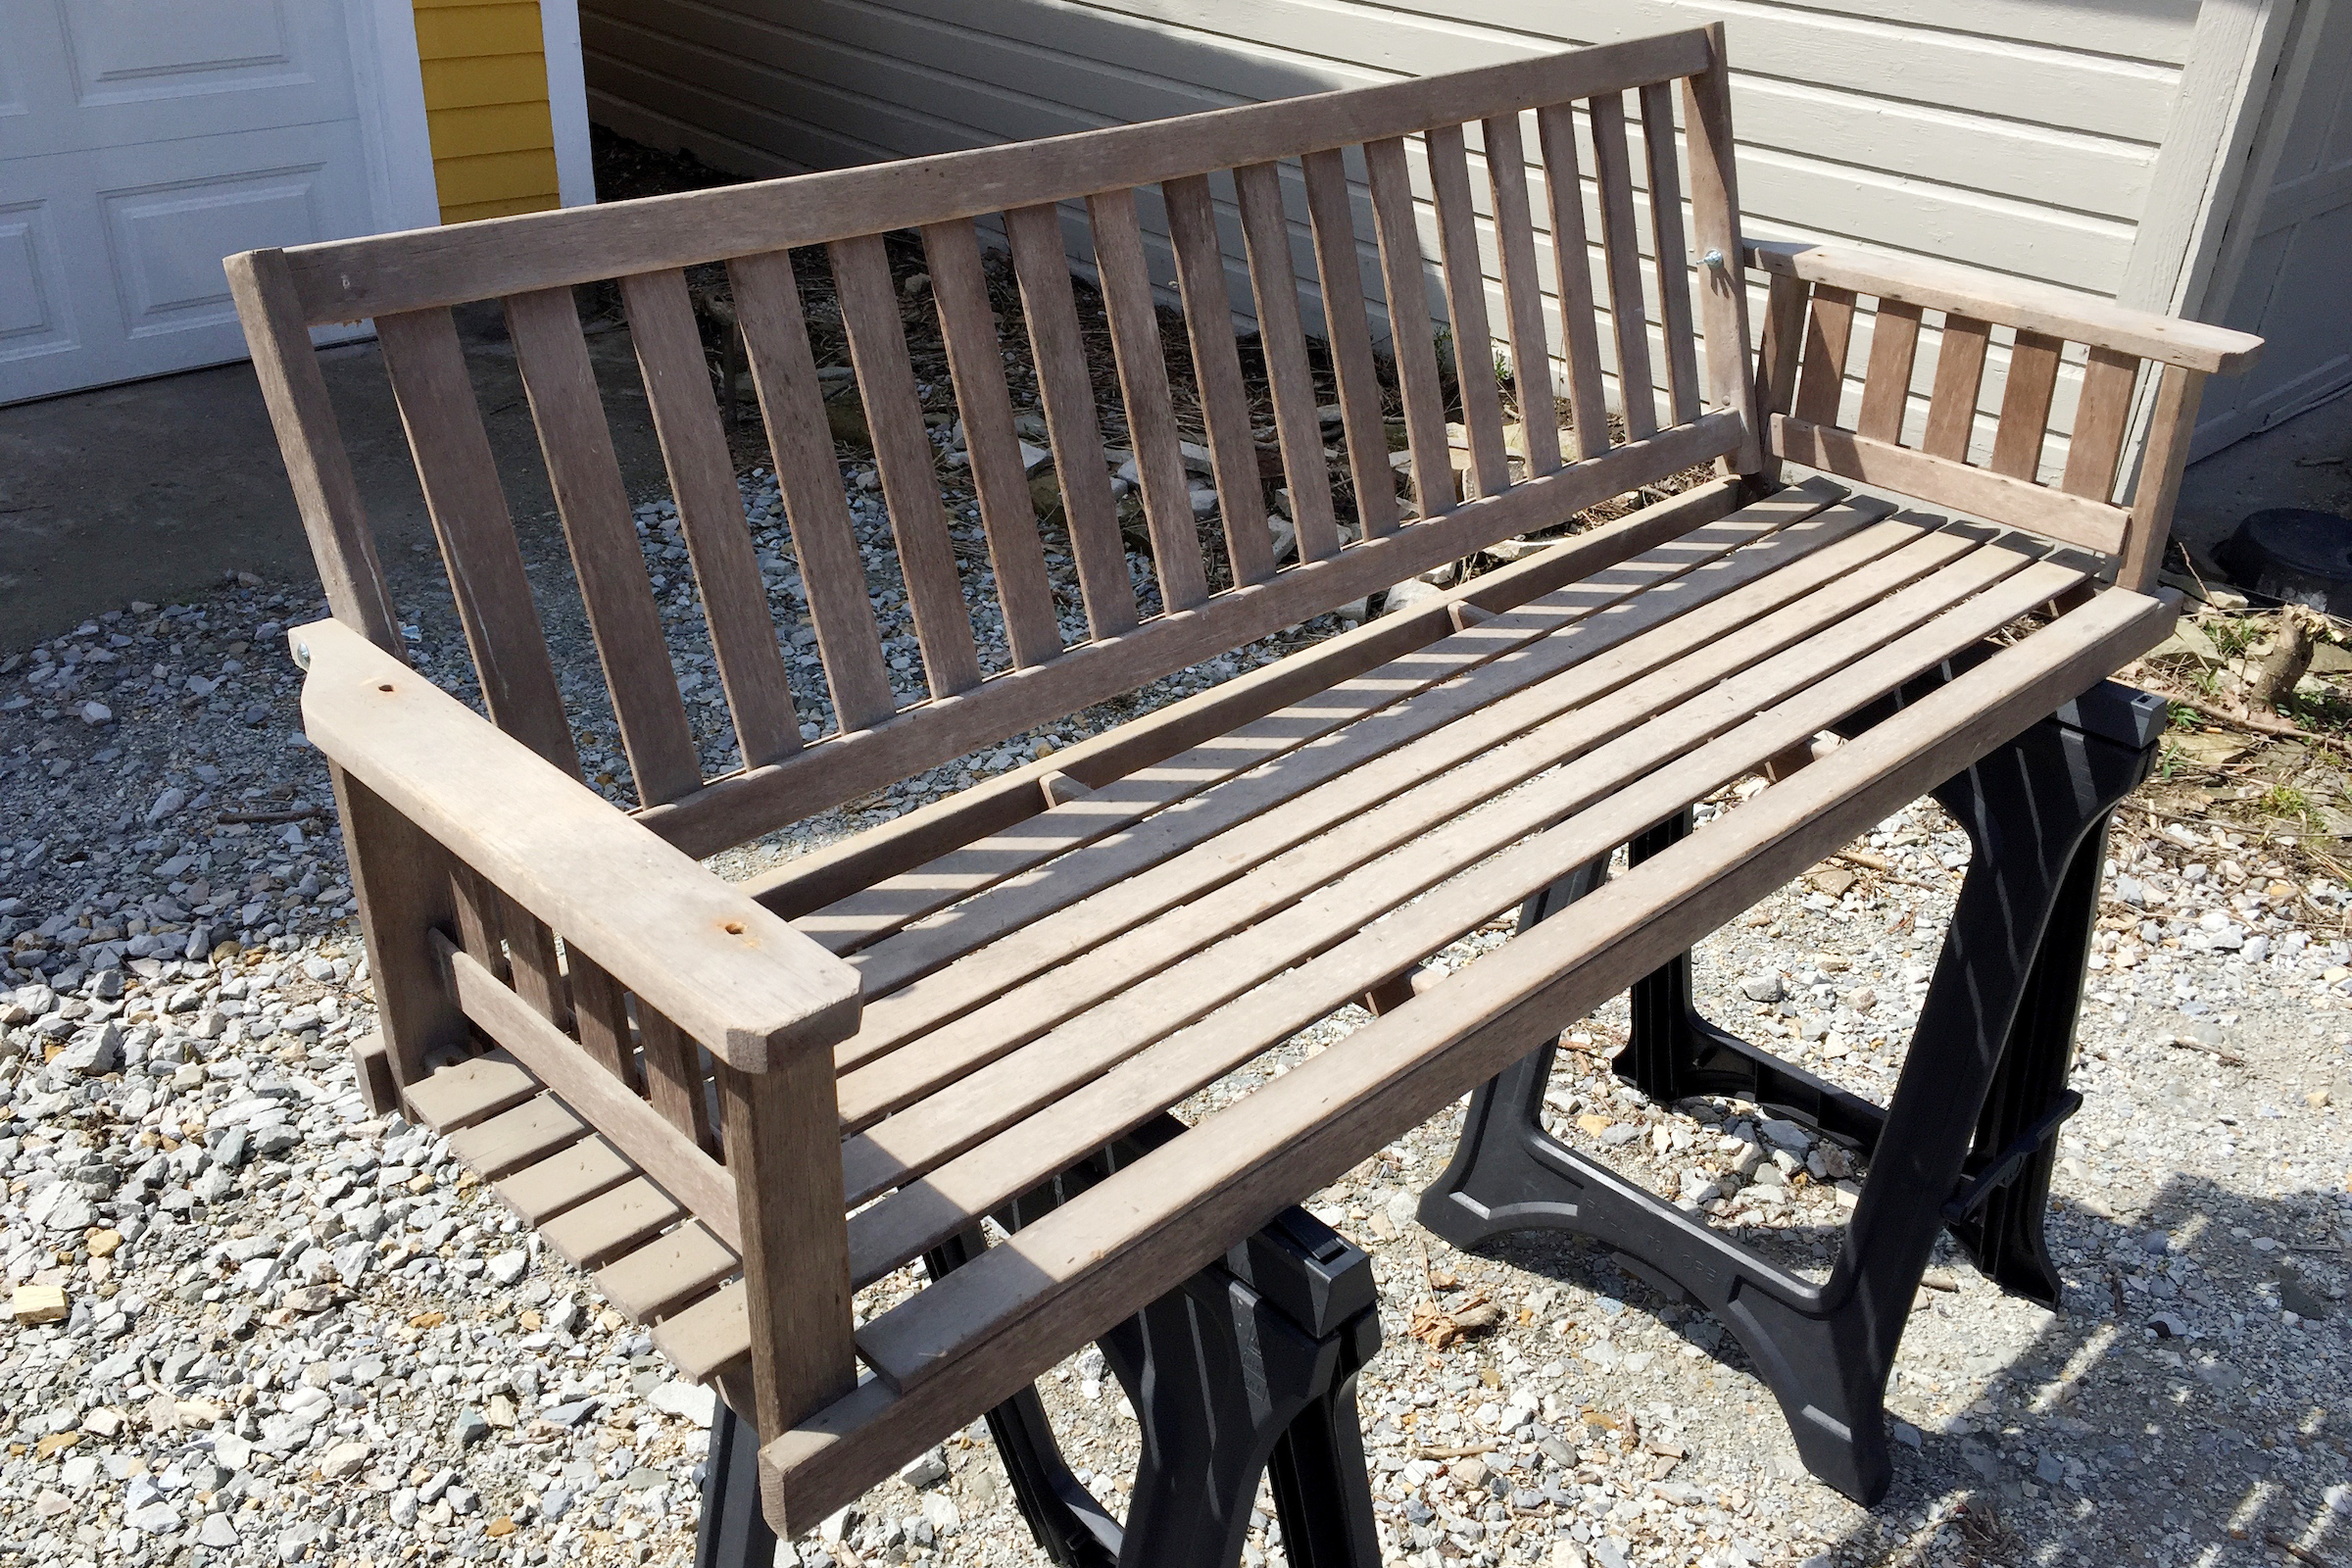
We decided to knock an easy DIY project off our to-do list earlier this week while the sun was out. Our porch swing is in great shape, but it was unfinished. We’d been wanting to paint it since we moved into the house last summer. It was an easy and fun project to knock out in an afternoon. And I was happy that it only cost about $40 to do — so much cheaper than buying a new swing!
A couple of notes about how we tackled this project. Because our swing was unfinished, this was a very quick process. If you’re repainting a swing, it will take a bit more sanding and possibly more coats of paint. We used some leftover white, exterior paint that’s an all-in-one paint and primer, which also eliminated some steps. If you’re painting your porch swing a color other than white, I would recommend doing a coat of traditional primer, then putting on several coats of exterior paint in the color you desire.
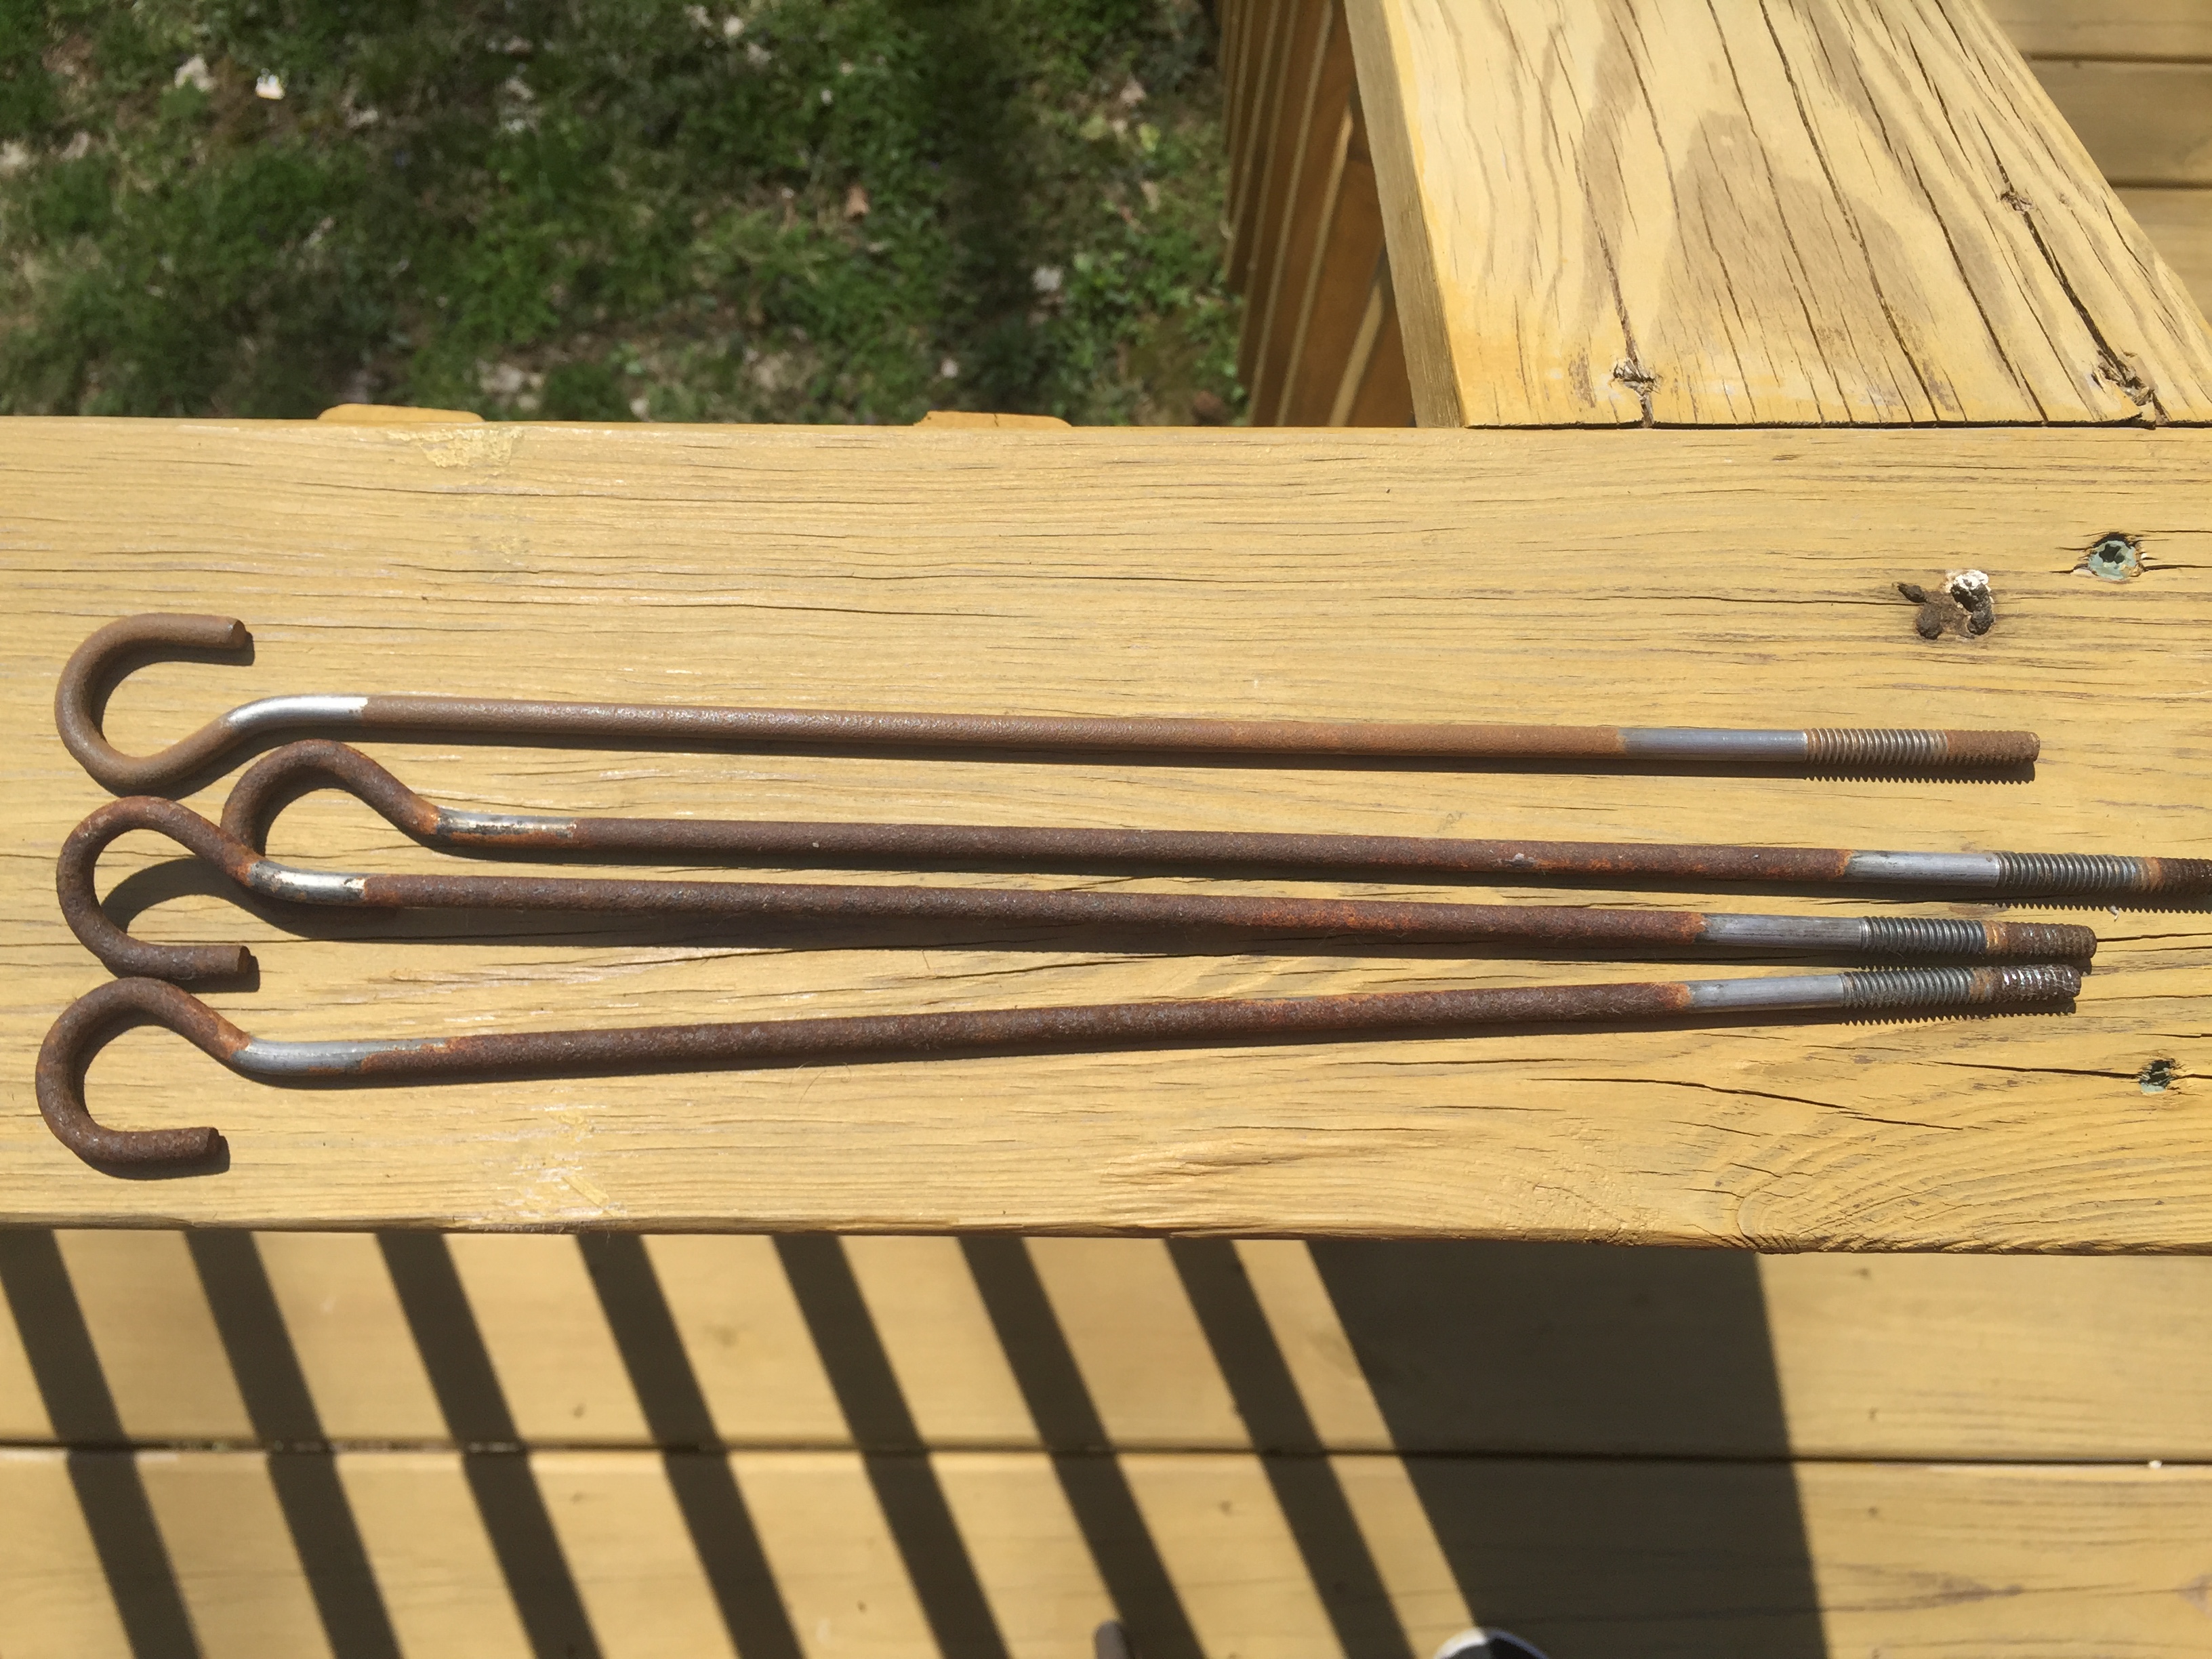
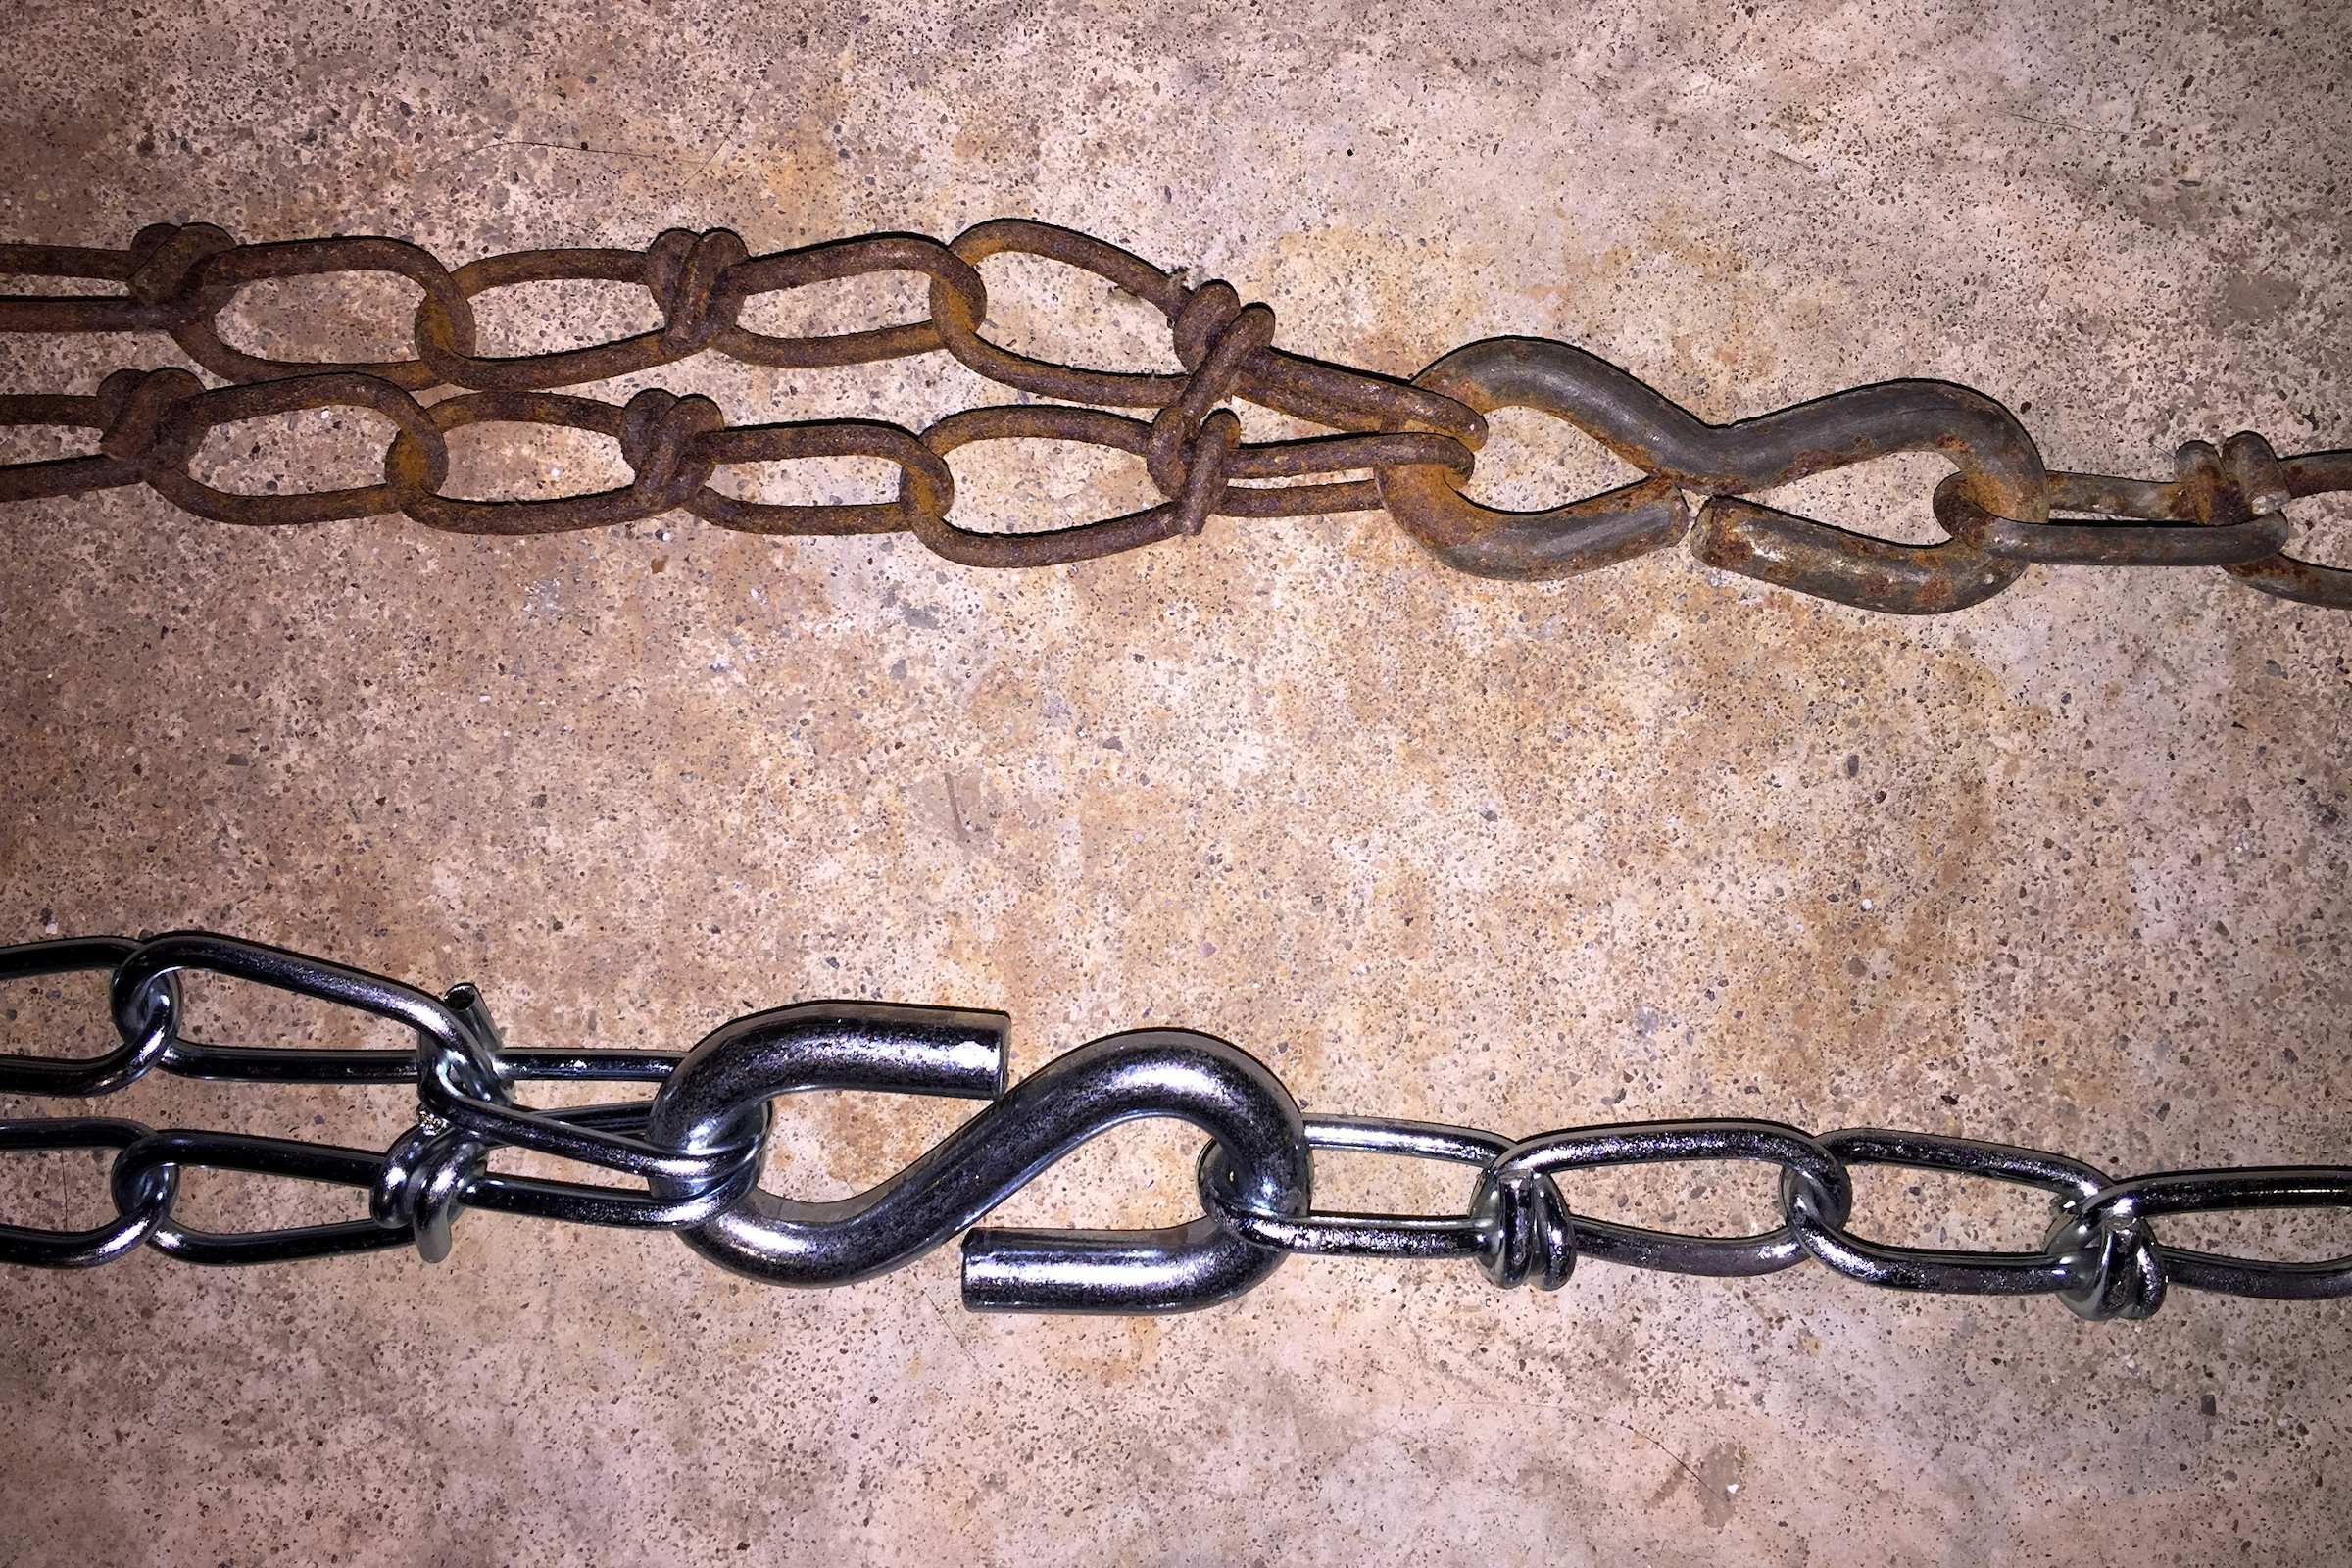
We were able to find replacements for all of the hardware on our swing, except these hooks that help hold the arms in place. We took all of the hardware to a local store to make sure we got the correct size replacements, but the clerks there had never seen these before. We removed as much rust as possible with steel wool and then spray painted these with a rust-resistant metal spray paint. You’d never guess they are so old now! The rest of the hardware was replaced using a standard porch swing hanging kit that you can find at most hardware stores.
Here’s a step-by-step breakdown of how we upgraded our swing.
[ingredients title=”Supplies”]
- Sawhorses
- Porch swing hanging kit (includes chain and hardware)
- Sandpaper
- Rags
- Exterior all-in-one paint and primer
- Medium angled paintbrush
[/ingredients]
[directions title=”Directions”]
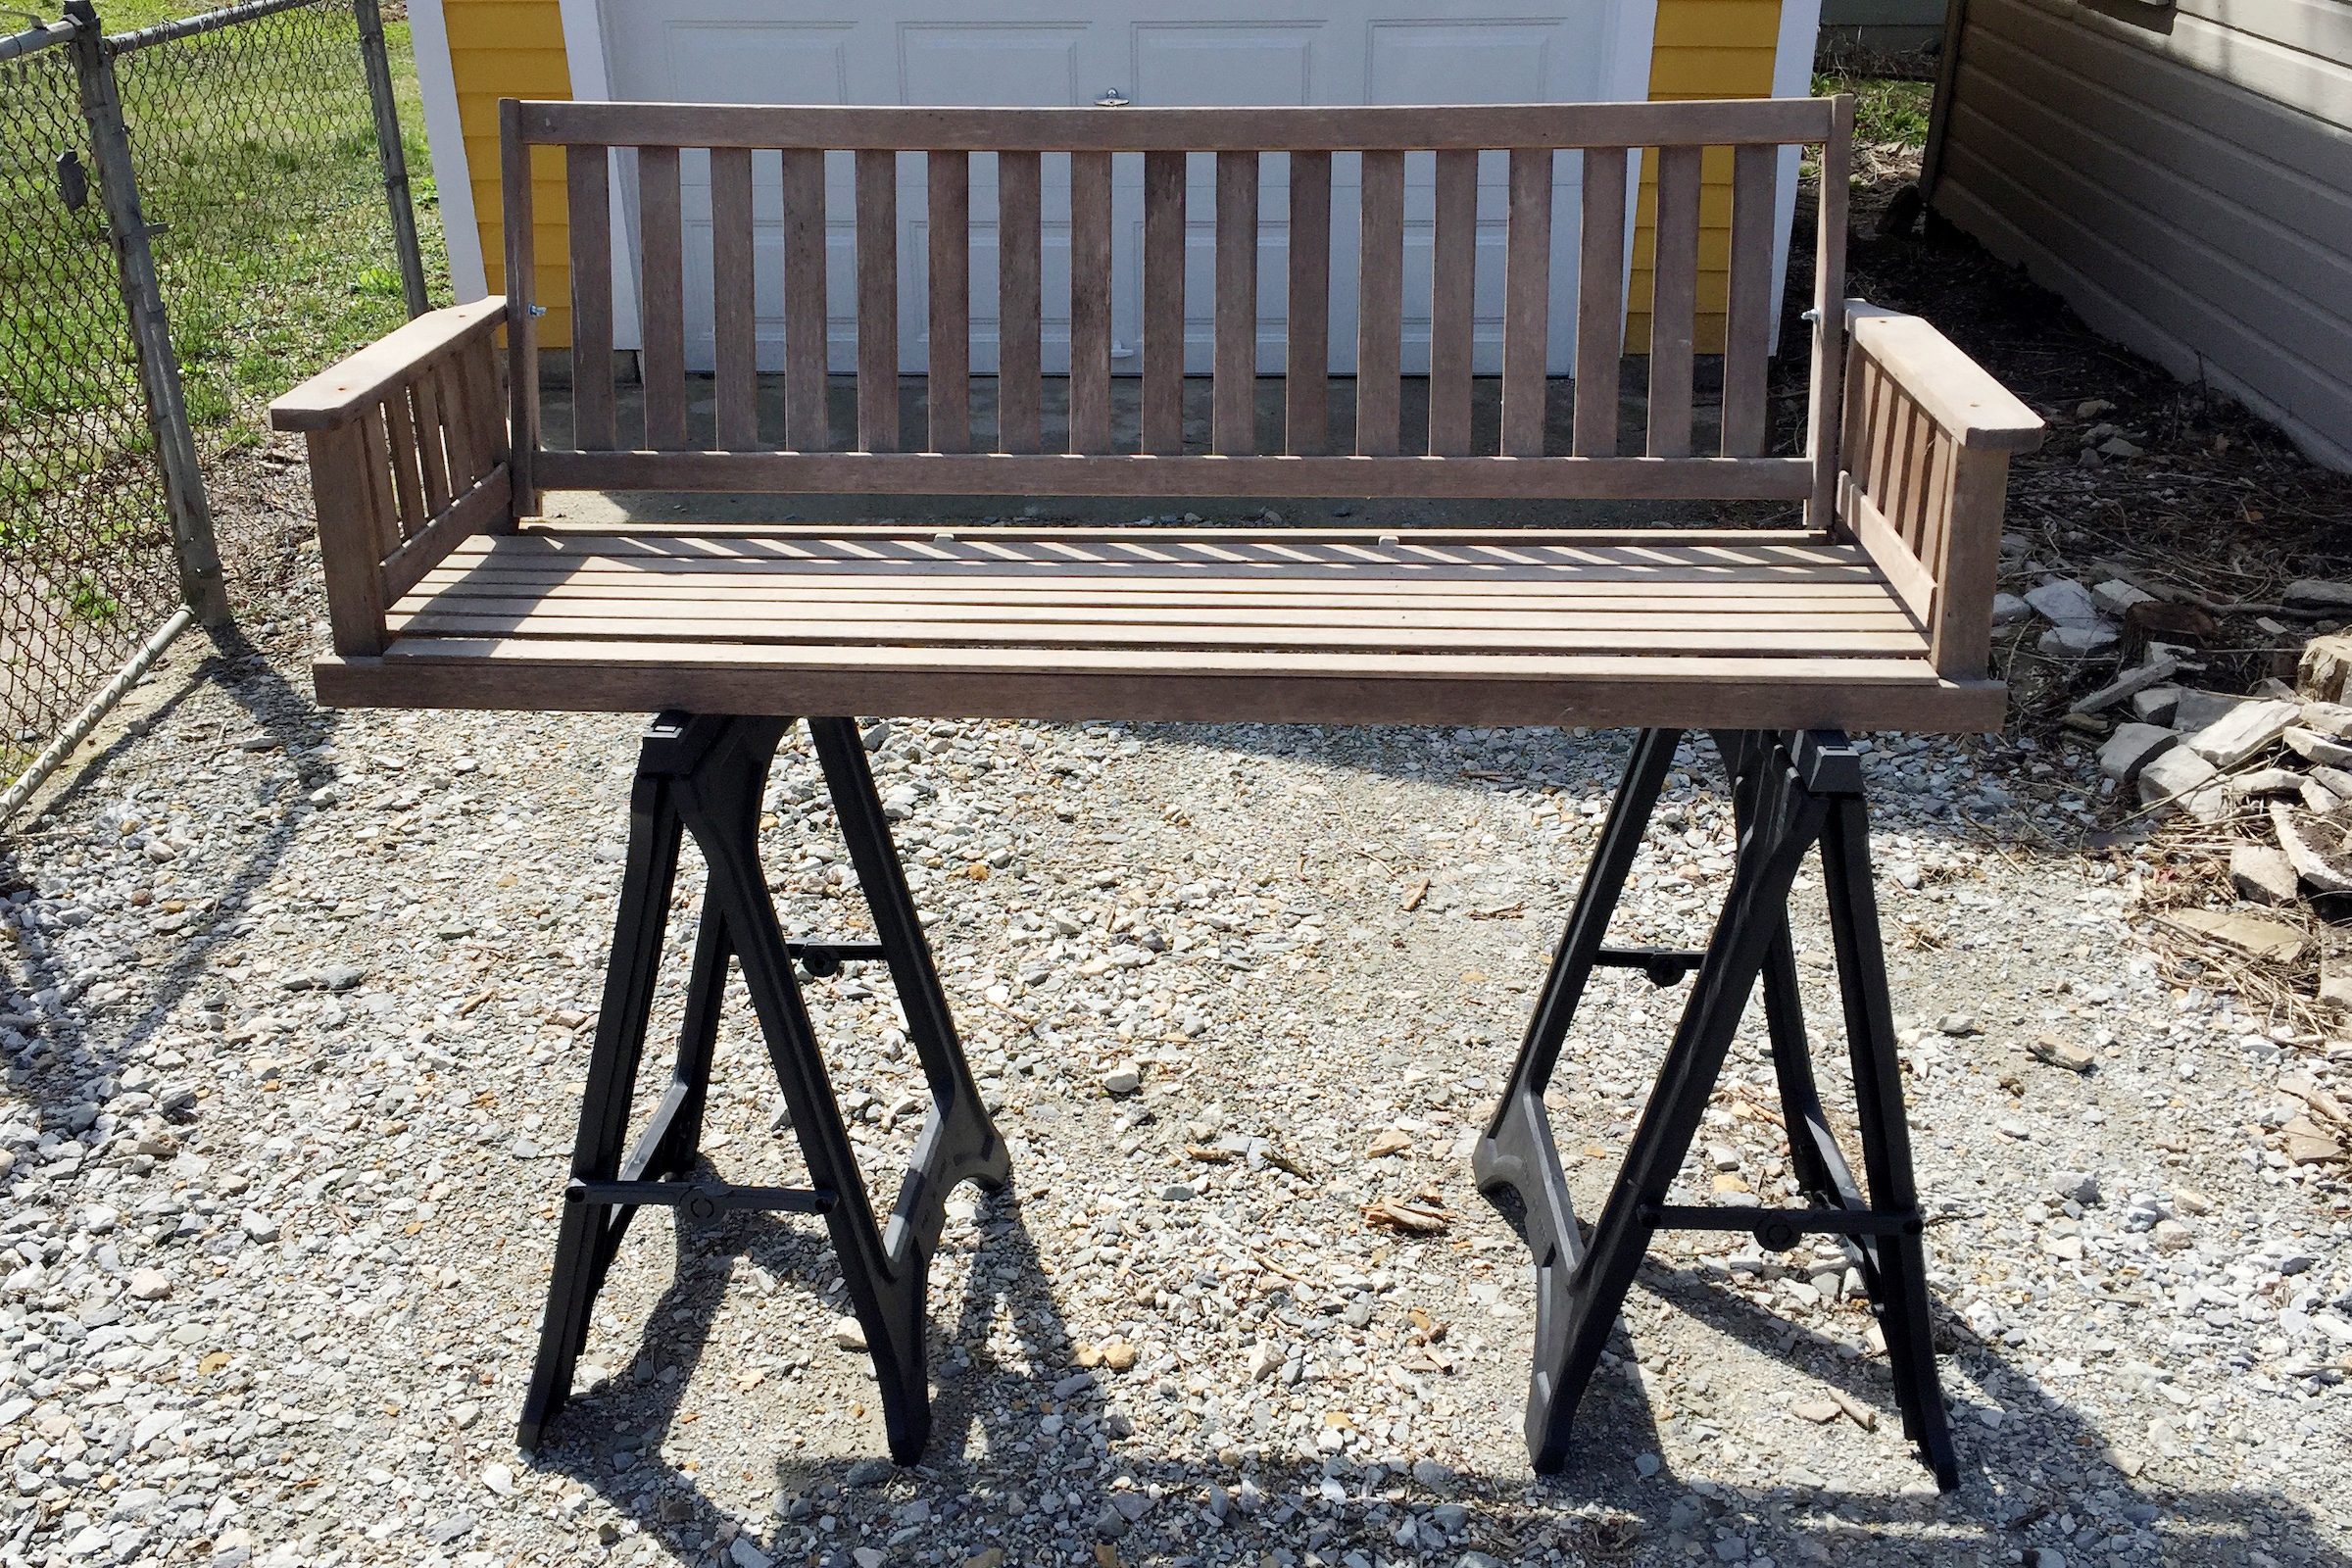
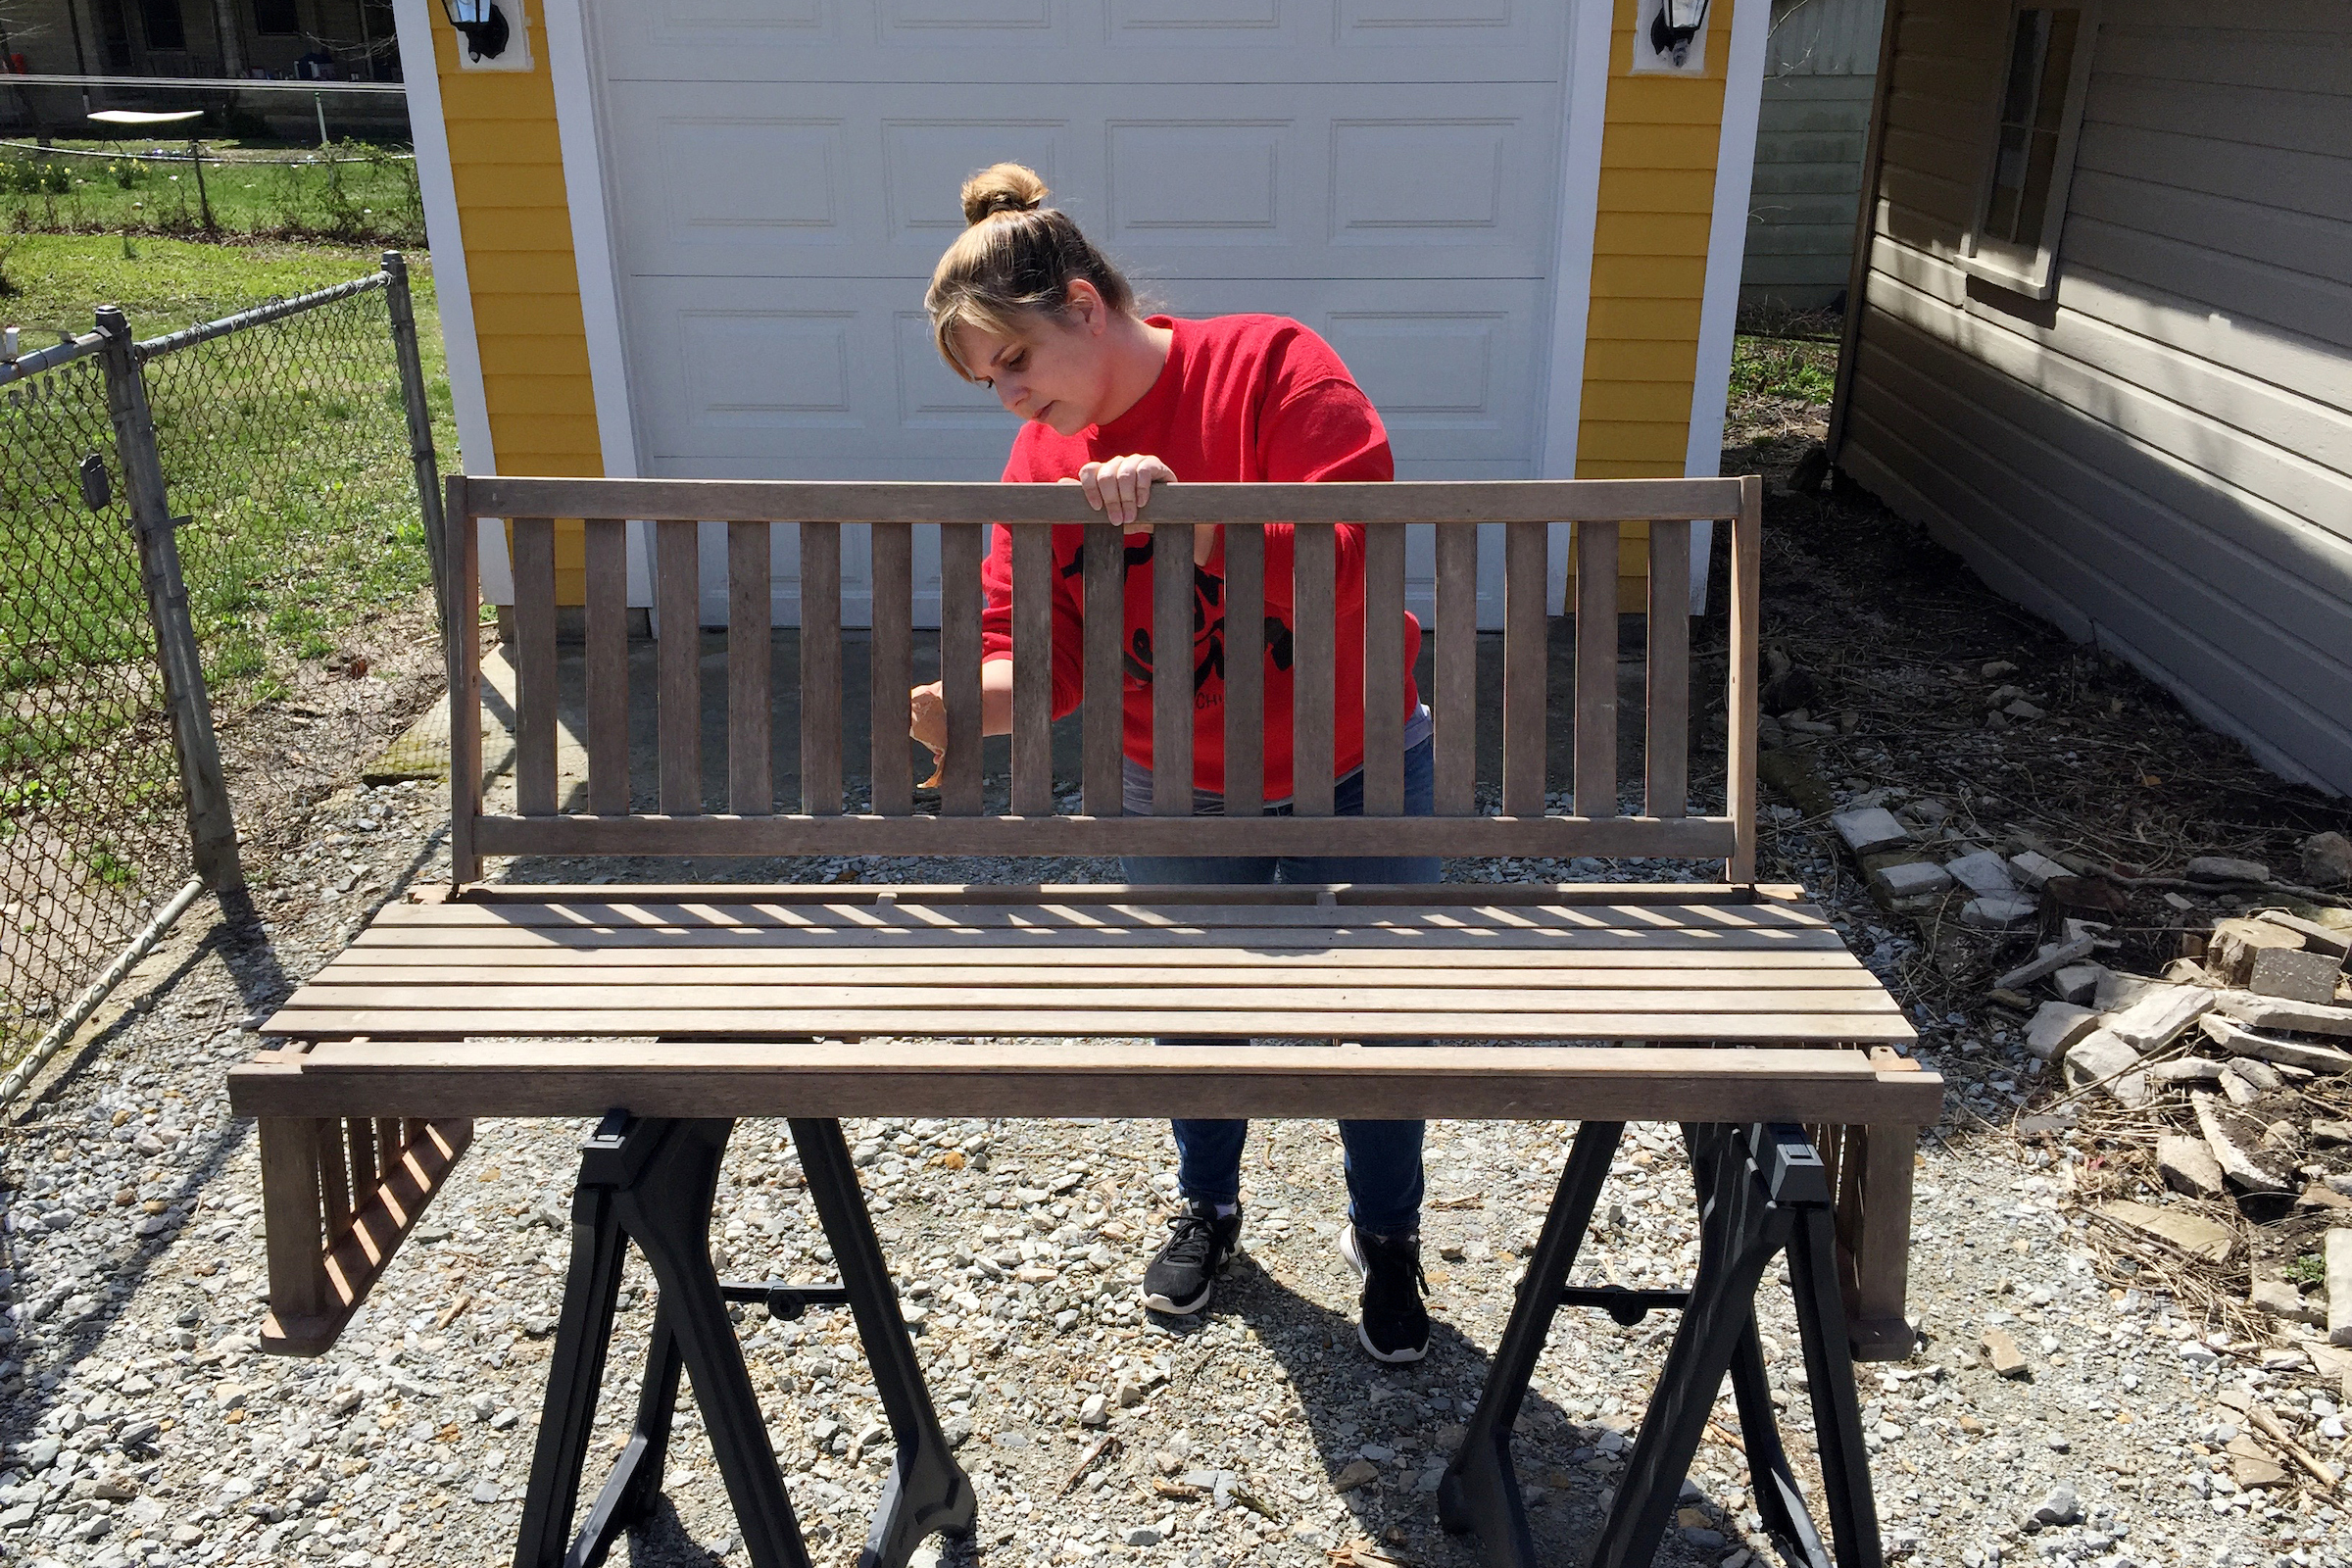
- Remove the original chains and any rusted hardware from the porch swing. Place the swing on two sawhorses and sand all sides.You want to scuff it up just a bit to give the paint something to cling to. Once the swing is sanded, wipe away dust using a rag.
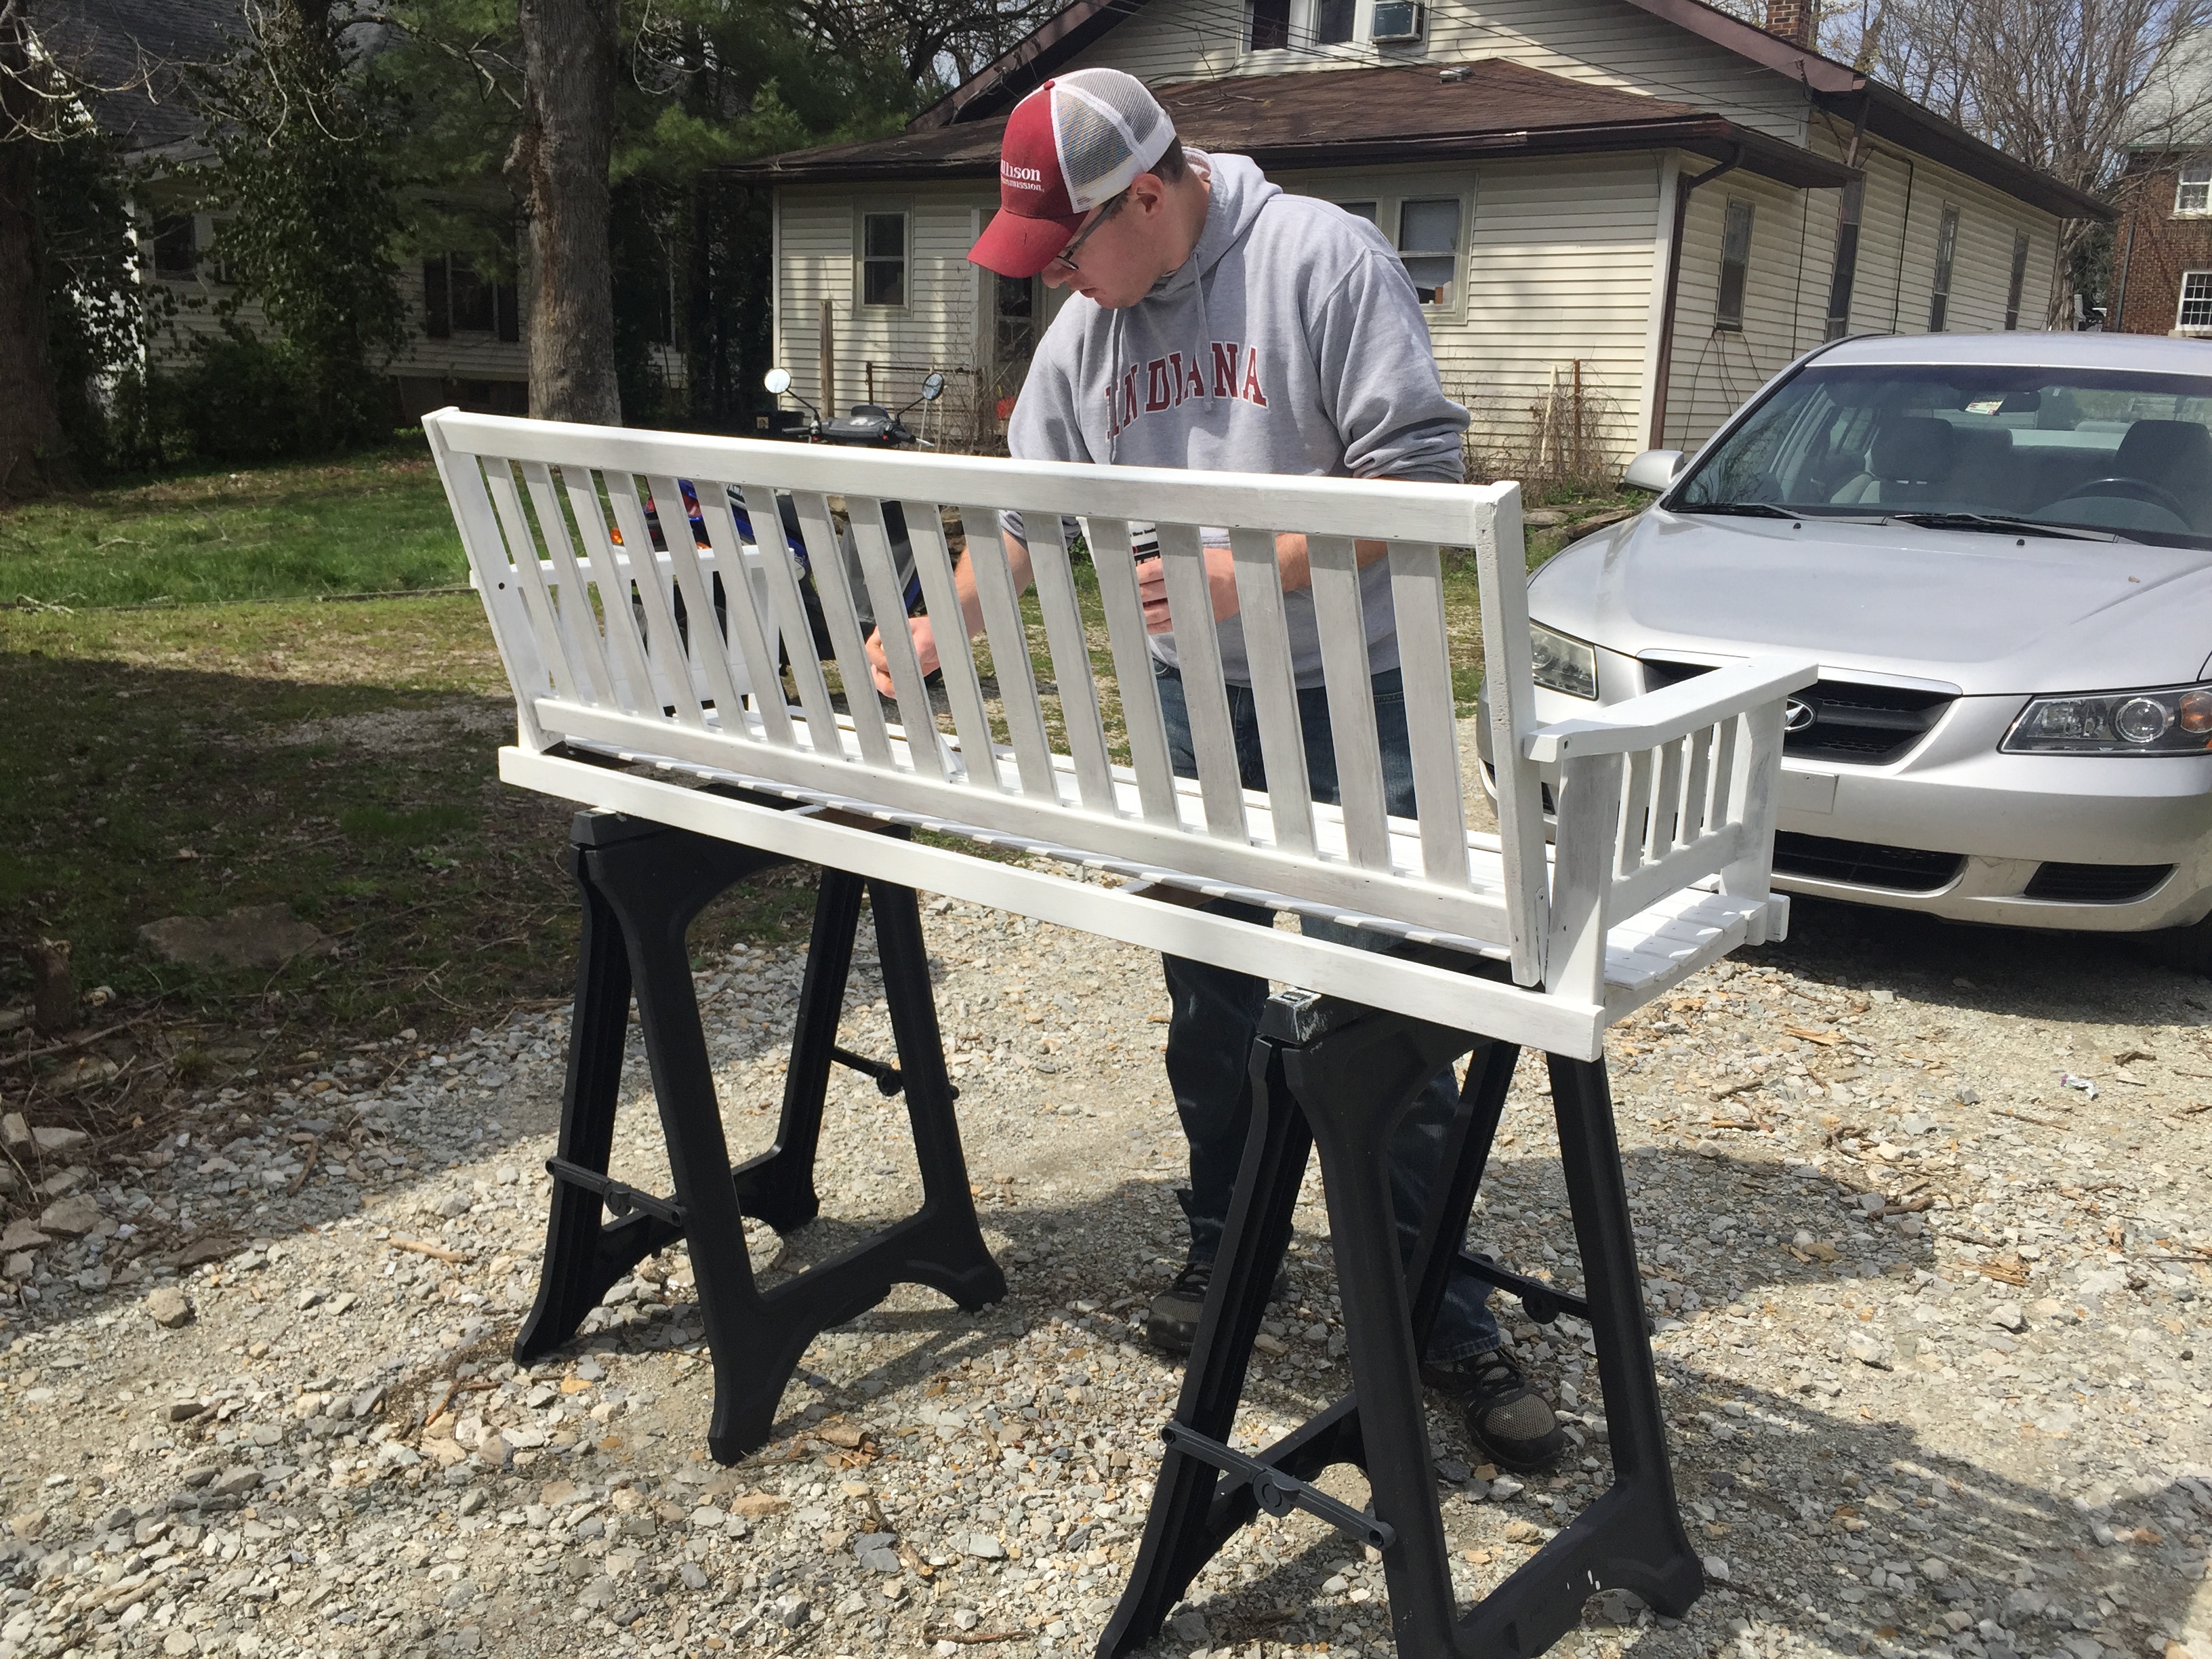
- Using a angled paint brush and broad strokes, apply a thin coat of paint to all surfaces of the swing, except underneath the seat. Allow paint to dry according to the directions on the can before applying a second, slightly thicker coat.
- Once second coat dries, you can apply a third coat to the top of the swing, if needed. Once you’re satisfied with the look of the paint, allow it to dry completely before flipping the swing over and repeating the process with the bottom of the swing. Allow paint to dry completely.
- Once paint is dry, install the new hardware from the porch swing hanging kit and hang swing up at desired height.
[/directions]

I’m so happy with how this project turned out! Our porch swing certainly pops a bit more with its new paint job and fits right in with the white trim we have on the front of the house. I have a feeling we’ll be getting a lot of use out of it over the next few months!